


Introduction
Creating a signature allows you to send professional-looking emails with ease. Hippo Pro Webmail offers advanced signature creation capabilities, which can be dynamically adjusted to suit your needs. This guide explains how to create your first signature.
Log On to Webmail
- Log in to your webmail account by following the instructions here.
- From your inbox, right-click on the account name.
- This will bring up the following menu:
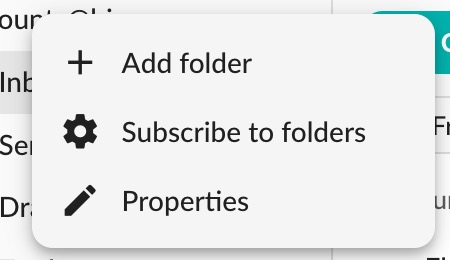
- From the menu, choose "Properties."
Account Properties
- The following Account Properties menu will appear:
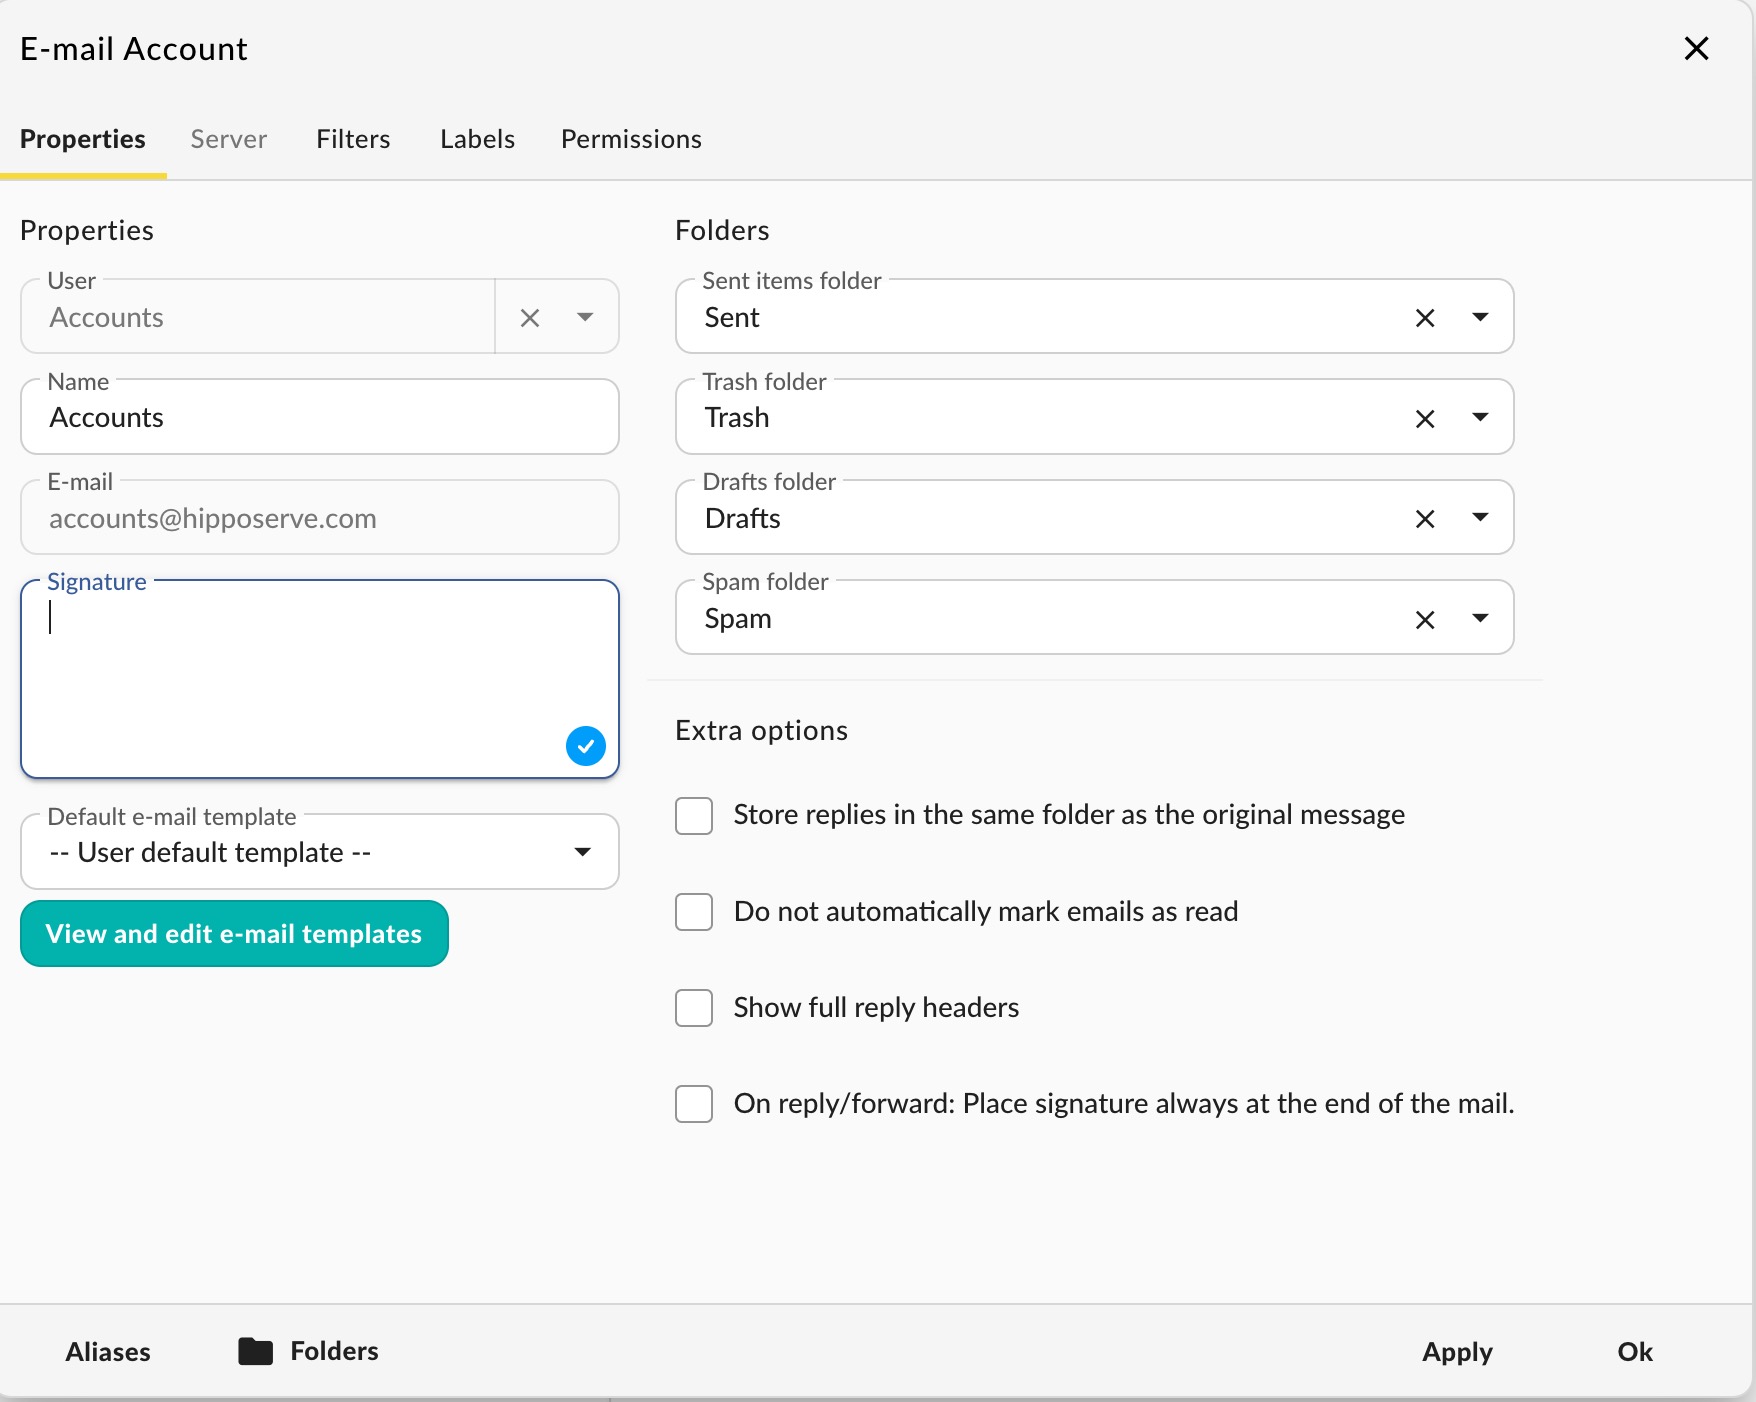
- Enter the desired signature in the box.
- HTML is allowed in this box, but it may not appear correctly in some older email clients.
- Once you have completed the signature, click "OK."
This signature will be added to all outgoing emails.


