Introduction
Your Hipposerve VPS plan comes with various features to help you manage your server easily through your Hippo Portal. This guide covers these management features. Note that available features may vary depending on your plan.
Select the VPS Hosting Service or Website
- Log into your Hippo Portal and go to the My Services link in the menu.

- Select the VPS service you want to manage.
- Click on the Manage button.
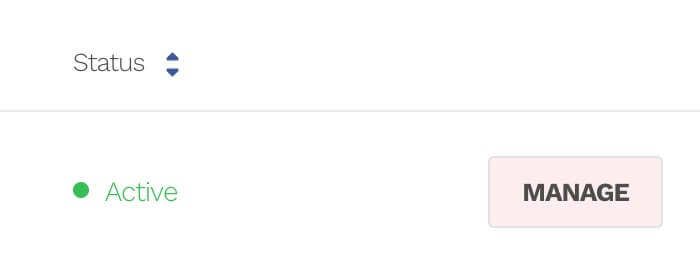
This will bring up an overview of your current plan.
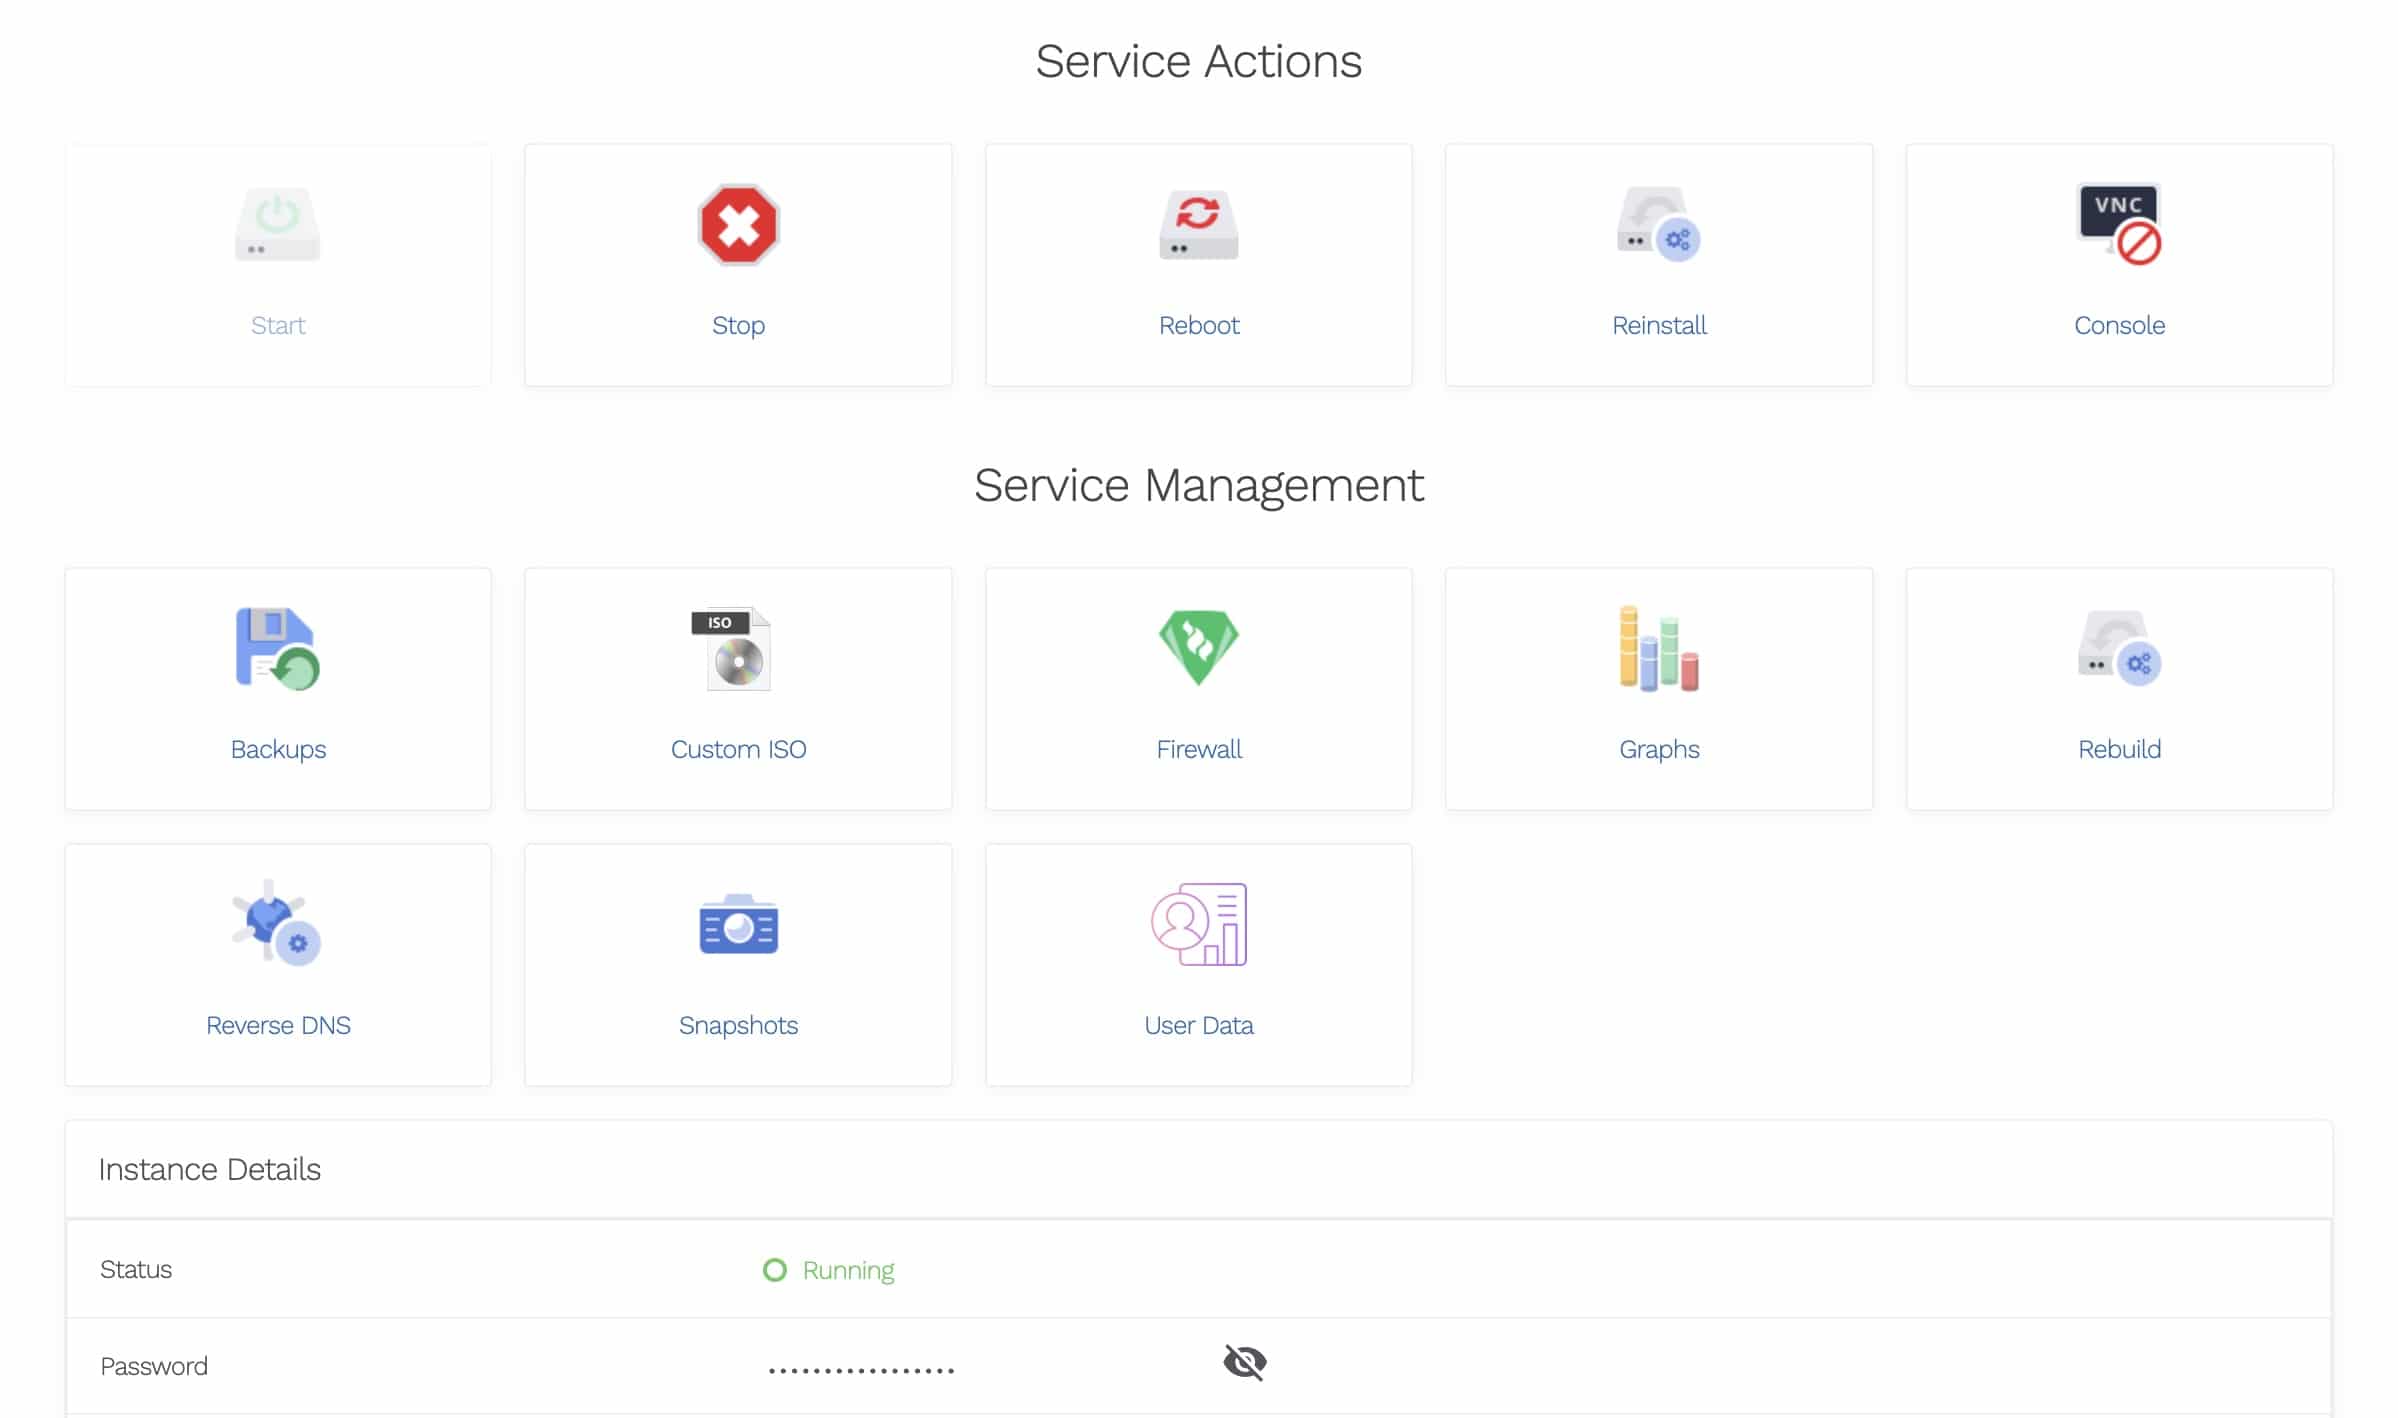
Management Tools
Here, you'll find all available service actions, management tools, and information about your installation.
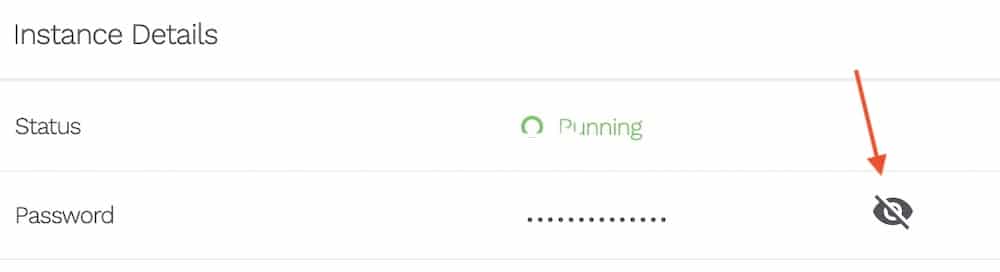
Finding Your Root Password
Your root password is necessary for accessing the console of your server or gaining root access to your installed control panel.
- In the instance details, click on the eye icon to display your password.
- Note: If you change this password in your control panel, it won't update here. You'll need to keep your own record.
Start Server Button
- Use this button to start the server if it's in a stopped state.
Stop Server Button

- Use this button to stop the server, taking it completely offline. You'll need to start it again to use it.
Reboot Server Button
- Perform a graceful reboot of your server, which is useful if your website or application has hung. A reboot can take 10-15 minutes.
Start Reinstall Button
- Reinstall the server to its original configuration. This will remove all data, including your website and any databases. Use with caution and ensure you take a backup of all your data before proceeding.
Console (VNC) Button
- Gain secure access to the command line of your VPS server via VNC using your root login credentials.
- Use with caution, as Hipposerve cannot accept responsibility for server failure due to changes made in the console.
Server Backup Button
- This feature is available if you purchased the auto backups option during sign-up. To add auto backups, contact the Hippo Helper team at https://help.hipposerve.com.
- From this interface, you can schedule your backups or restore an existing backup.
- Backups differ from snapshots as they are automatic.
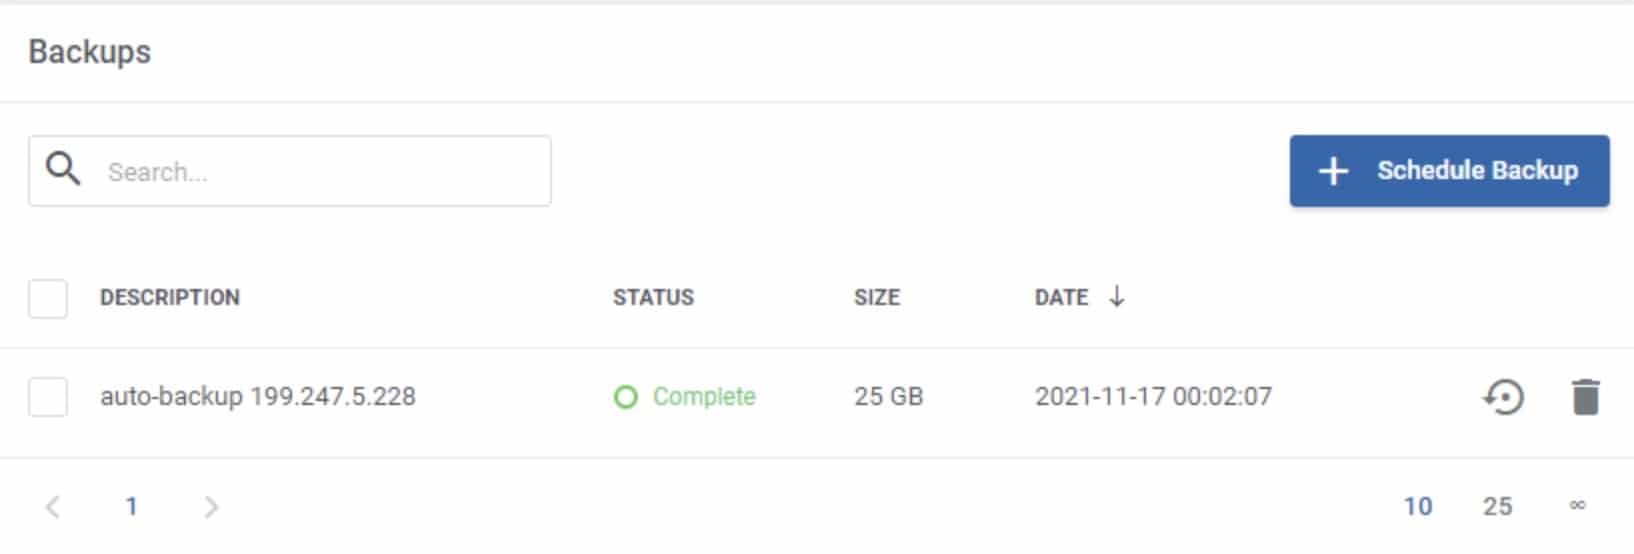
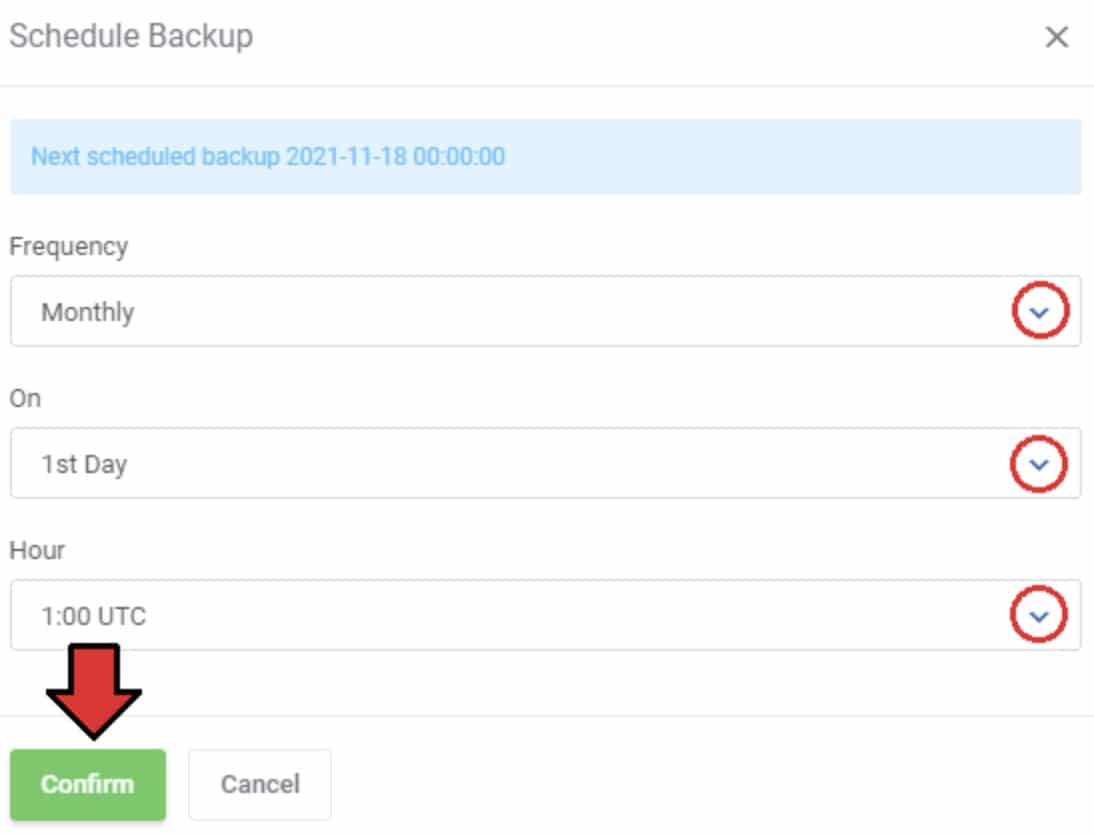
- To schedule a backup, click the schedule backup button and complete the form. The server will retain the last two backups.
- Delete unwanted backups by clicking the trash can. Perform a full system restore by clicking the recycle option.
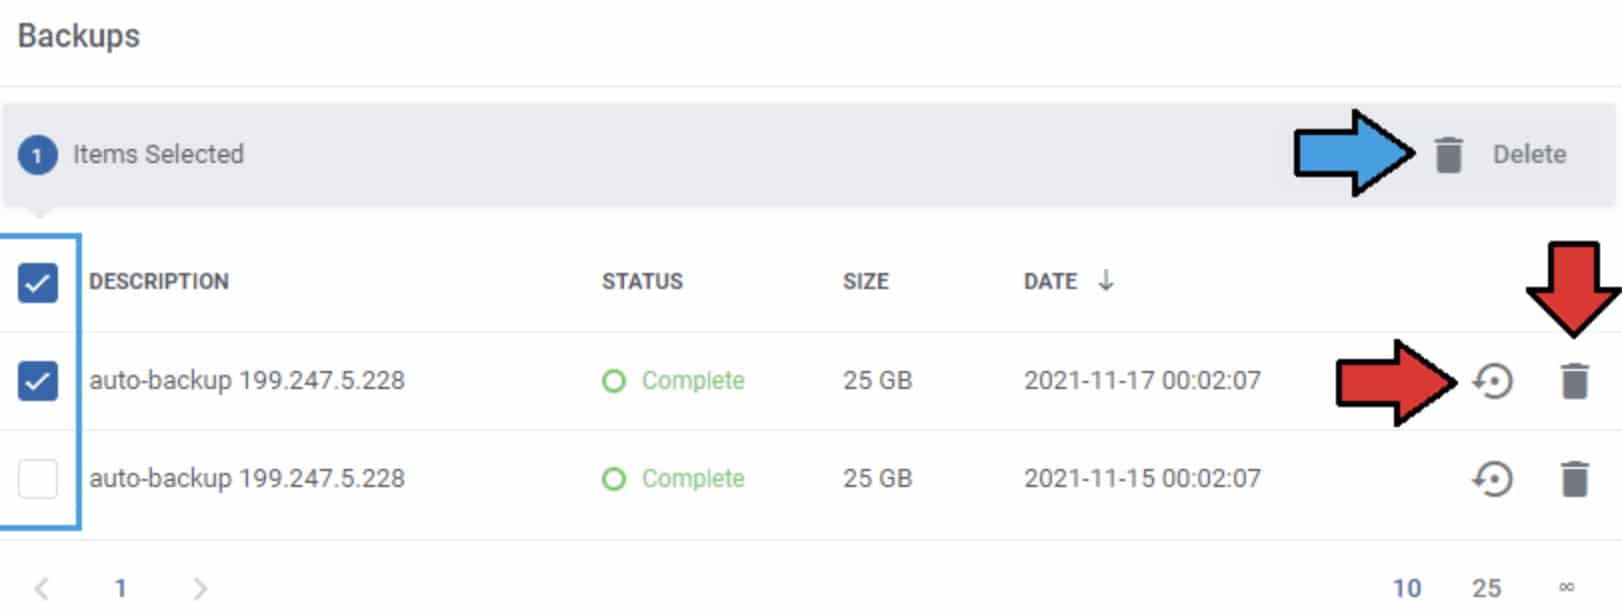
- Use restore with caution – Restoring will return the server to the state it was in when the backup was taken, removing any data added since.
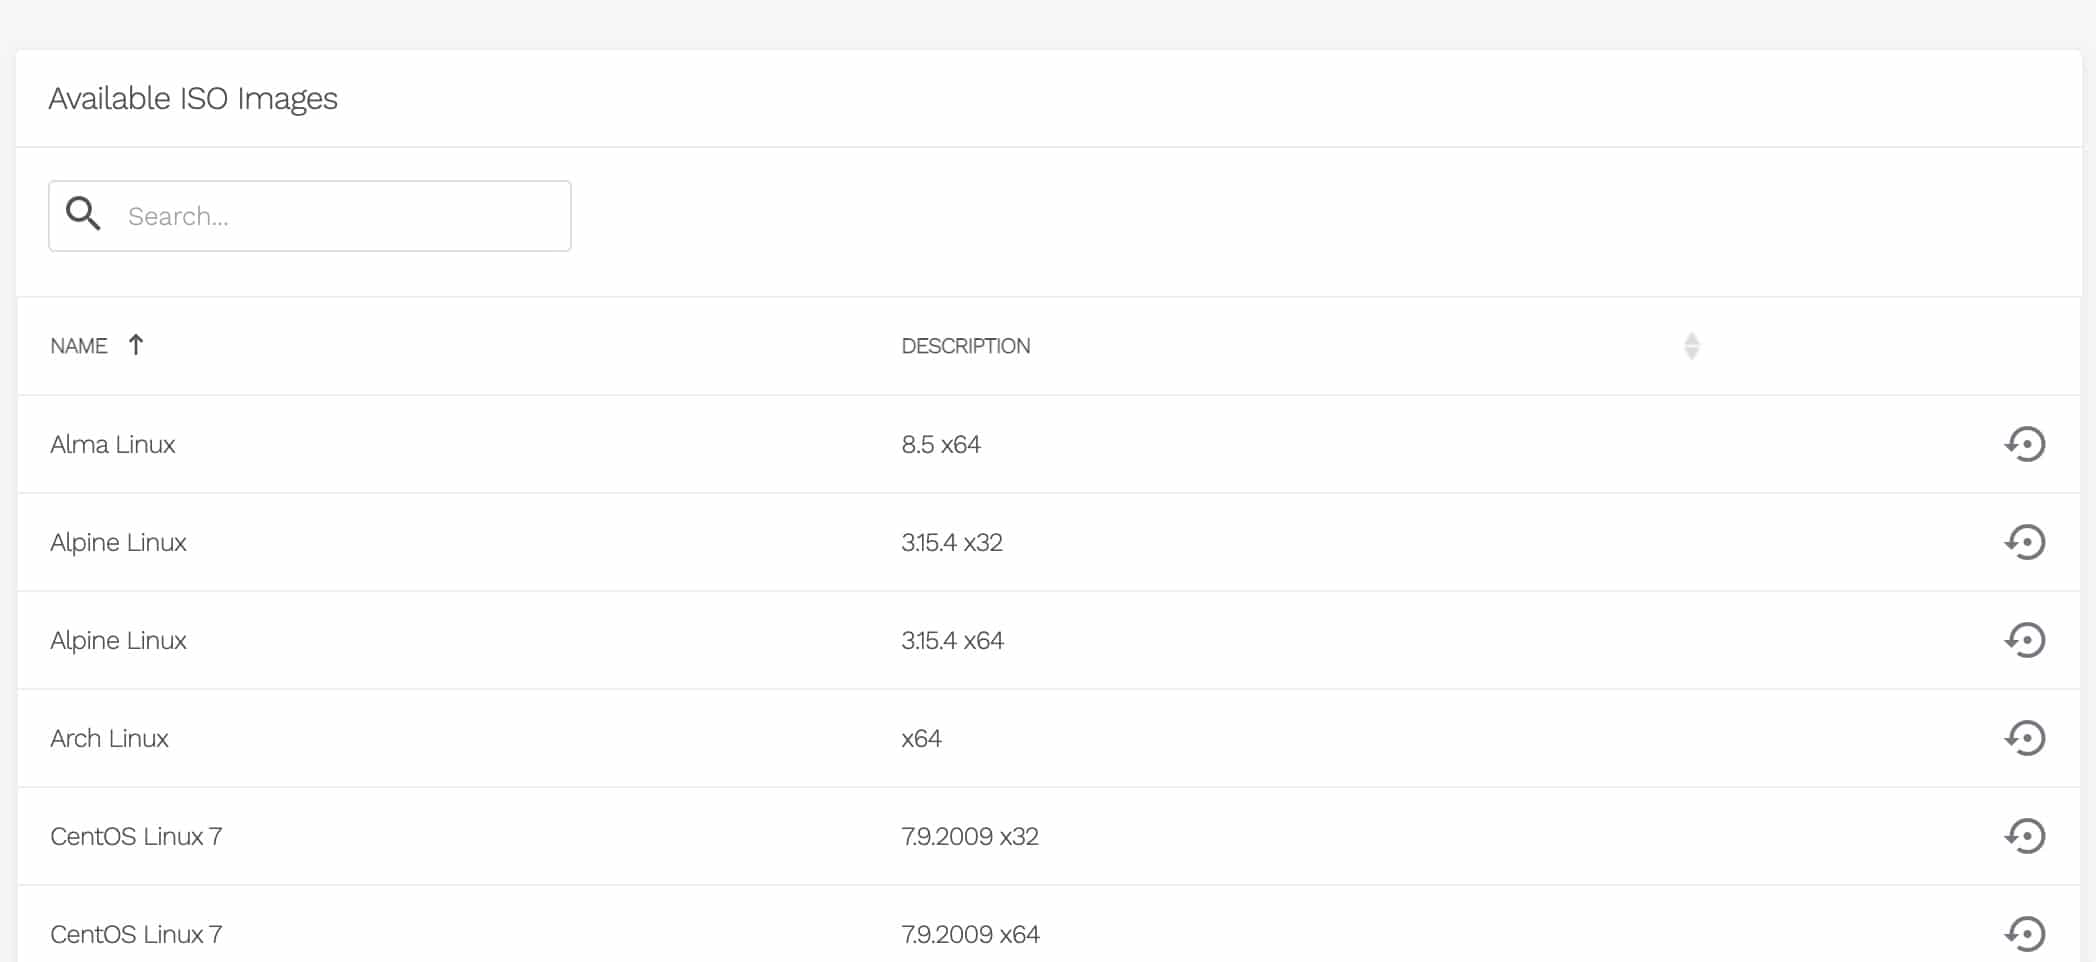
Custom ISO Button
- Rebuild the server using a custom ISO to meet your specifications.
- Choose from available ISOs or provide a custom ISO for us to install. Contact us at https://help.hipposerve.com.
Firewall Button
- Your VPS includes a custom firewall between your server and the internet.
- Initially, all non-essential ports are closed, but you can customize this to fit your needs.
- Add new rules by clicking the Add rules button.
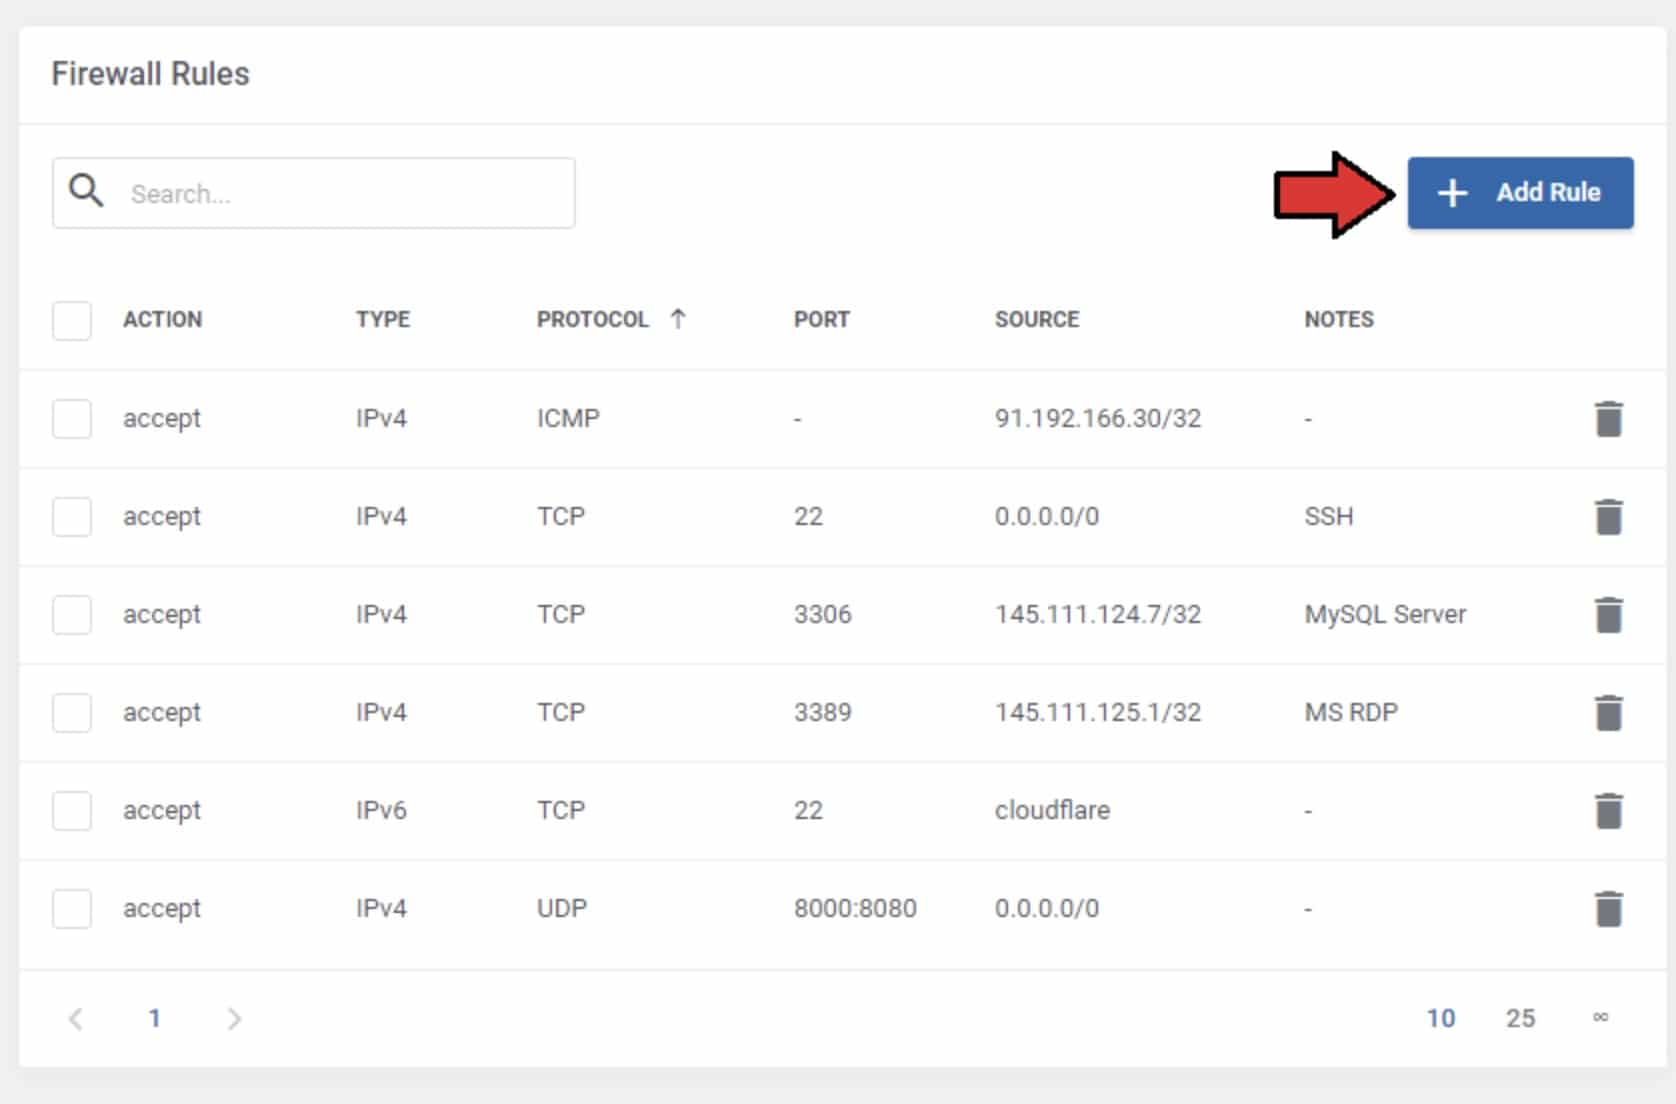
- Fully configure your firewall using the options provided.
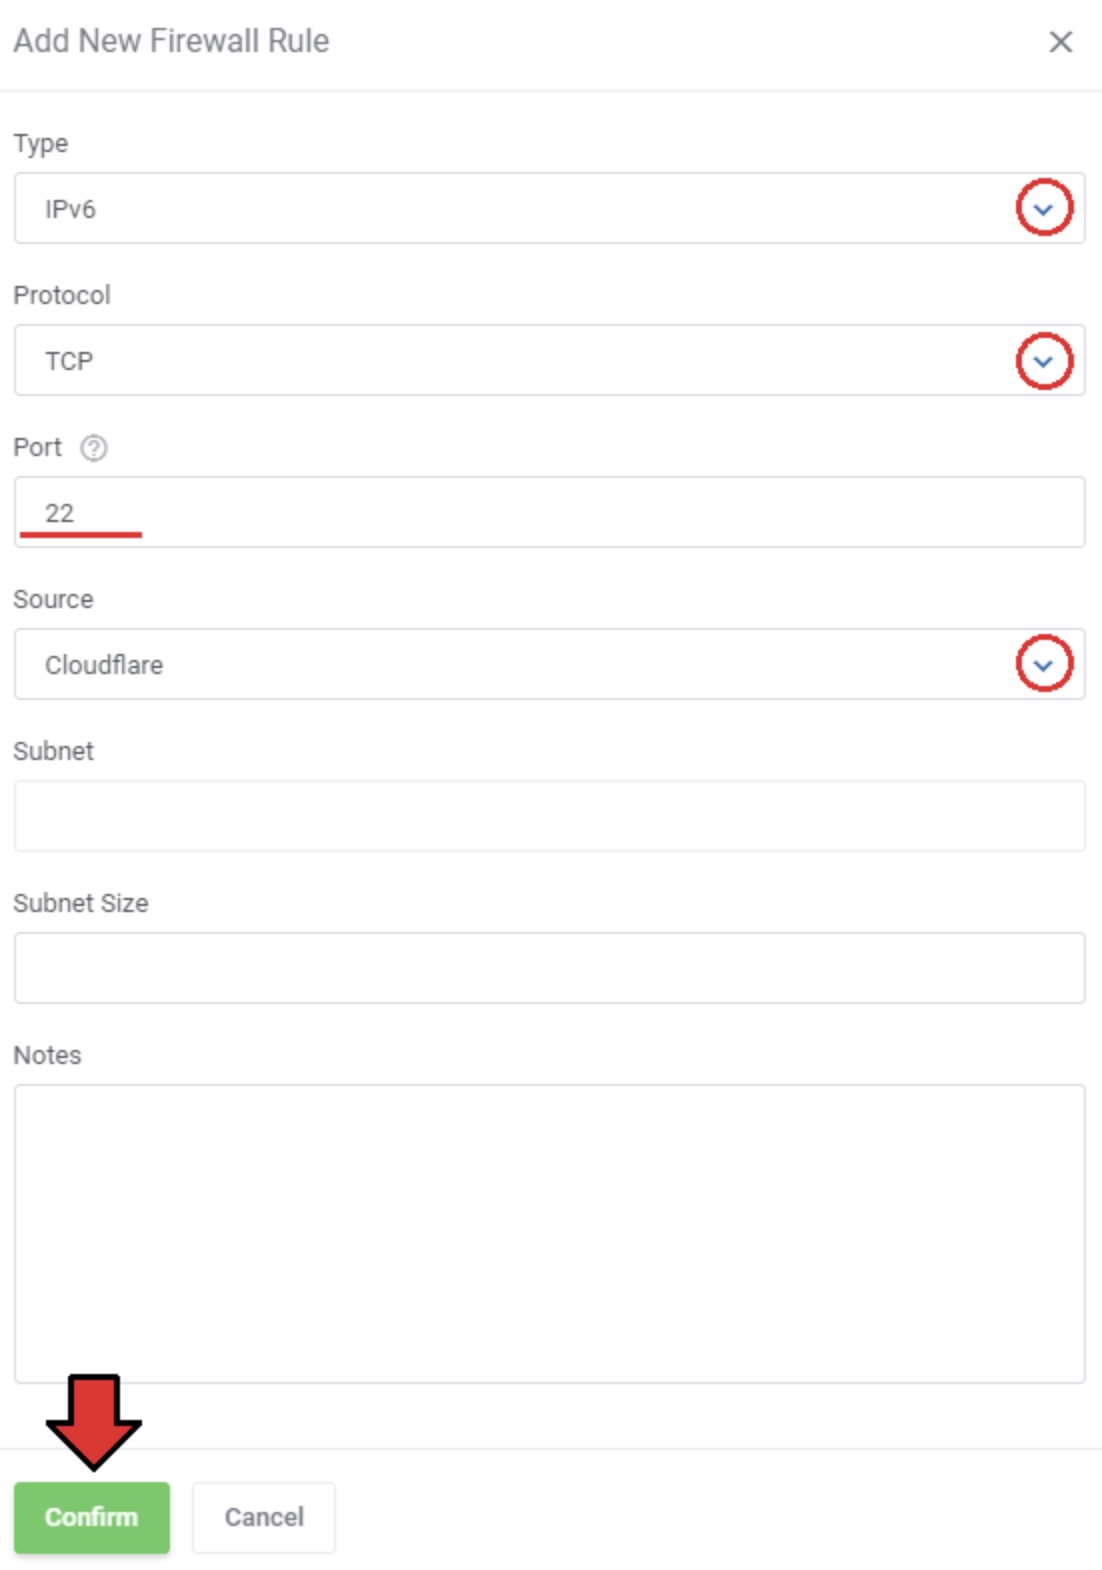
- Be cautious when using the firewall, as incorrect port configurations can make your server inoperable or insecure.
Snapshot Button
- Snapshots are useful for taking an image of your server before making changes. This allows for quick restoration if something goes wrong.
- Snapshots are similar to backups but are manual and temporary.
- Note: Snapshots carry an additional fee, charged monthly as stated in our terms and conditions.
- Snapshots are compressed and you are only charged for the space and time they occupy.
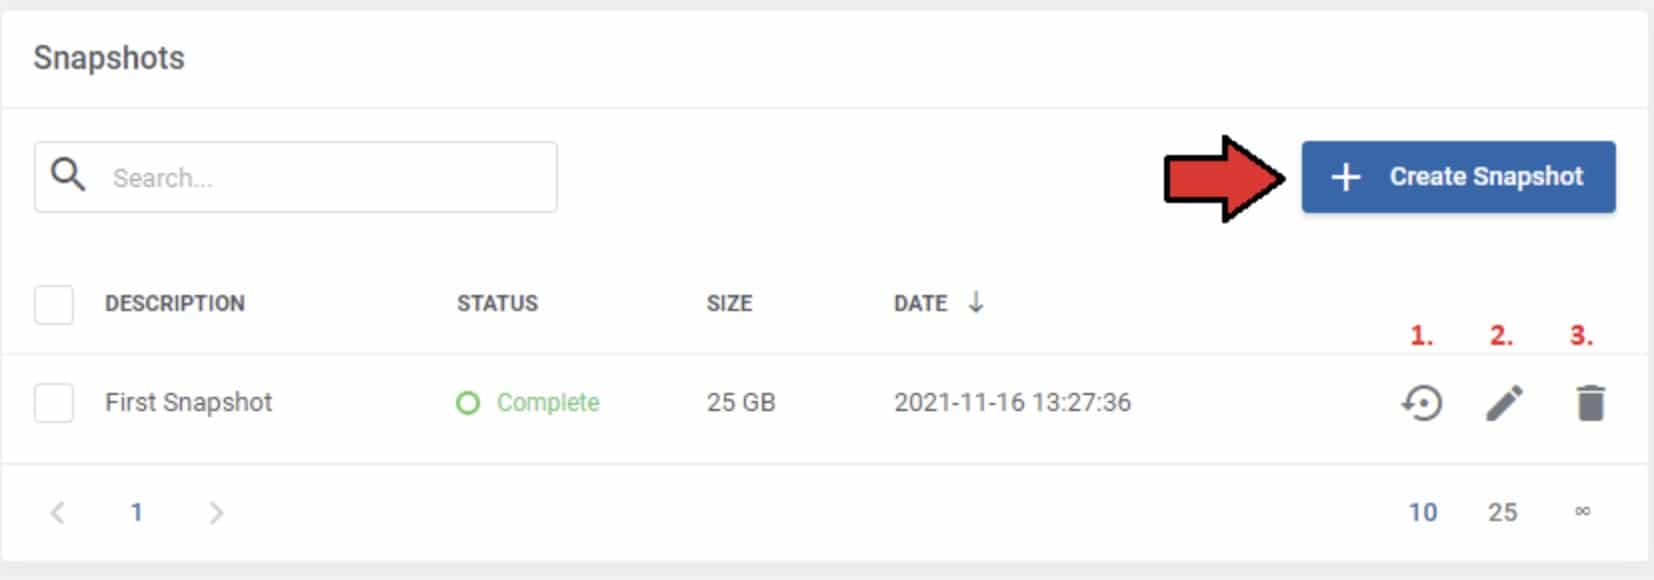
- Create a snapshot by clicking the create snapshot button. Ensure you give it a recognizable name for easy identification later.
- To restore a snapshot, click the restore icon. To delete a snapshot, click the trash can.
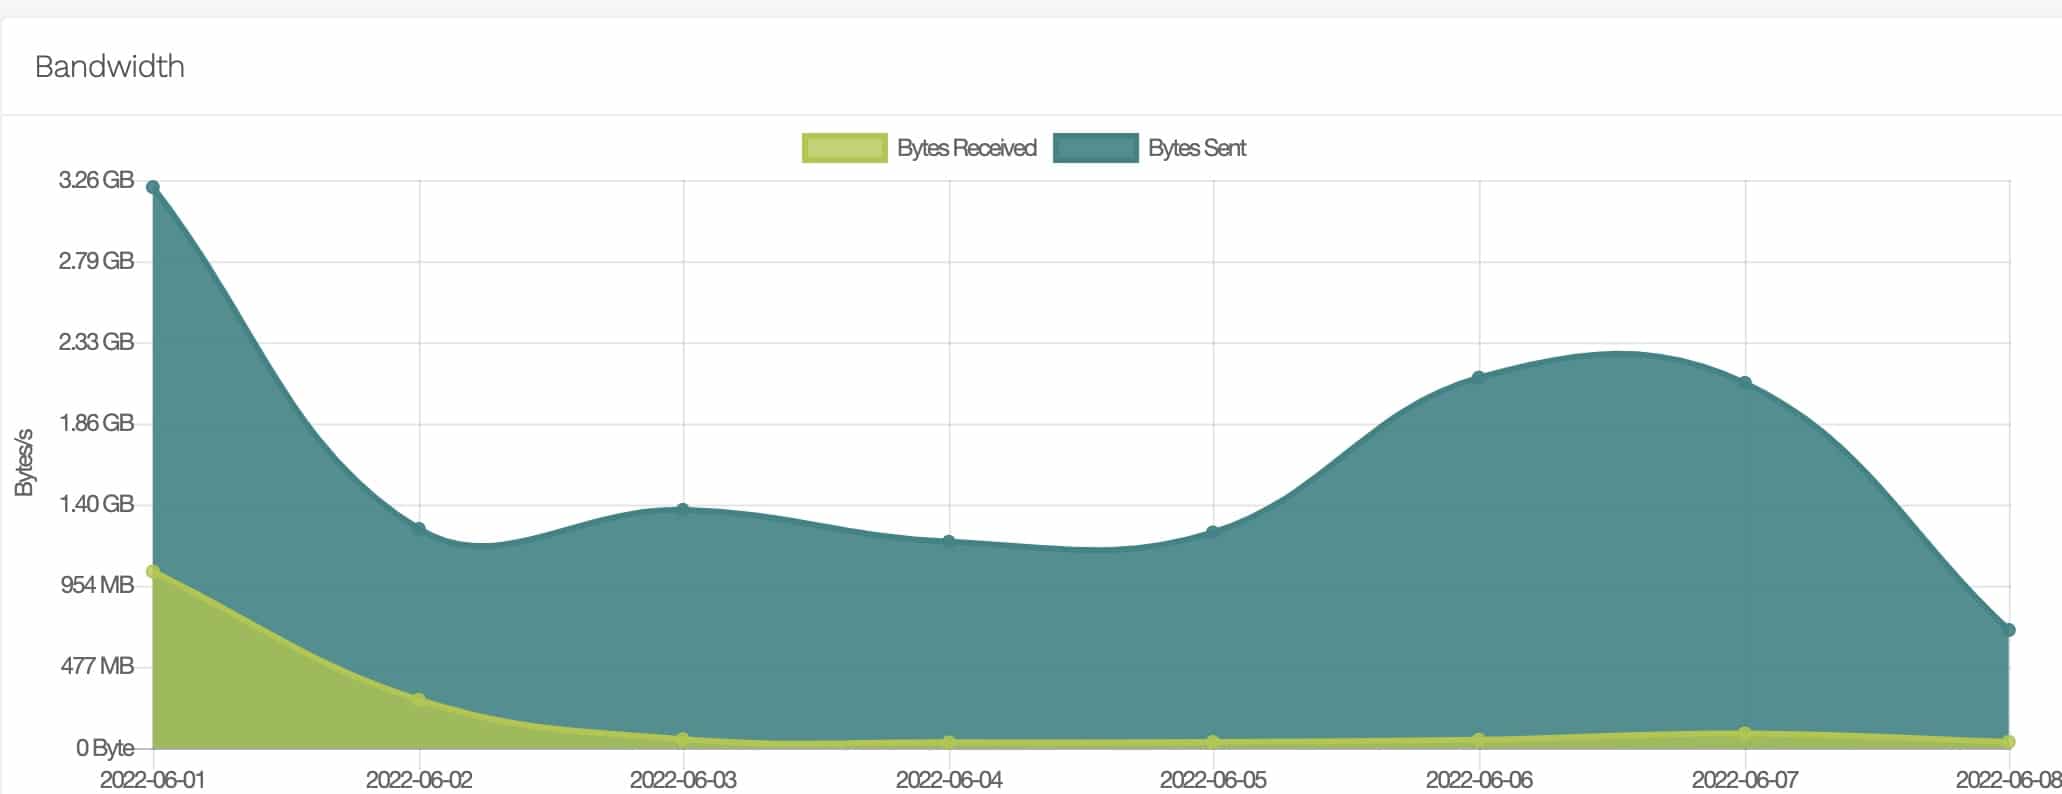
Graphs Button
- Monitor the amount of data sent and received by your server to ensure you stay within your bandwidth limits.
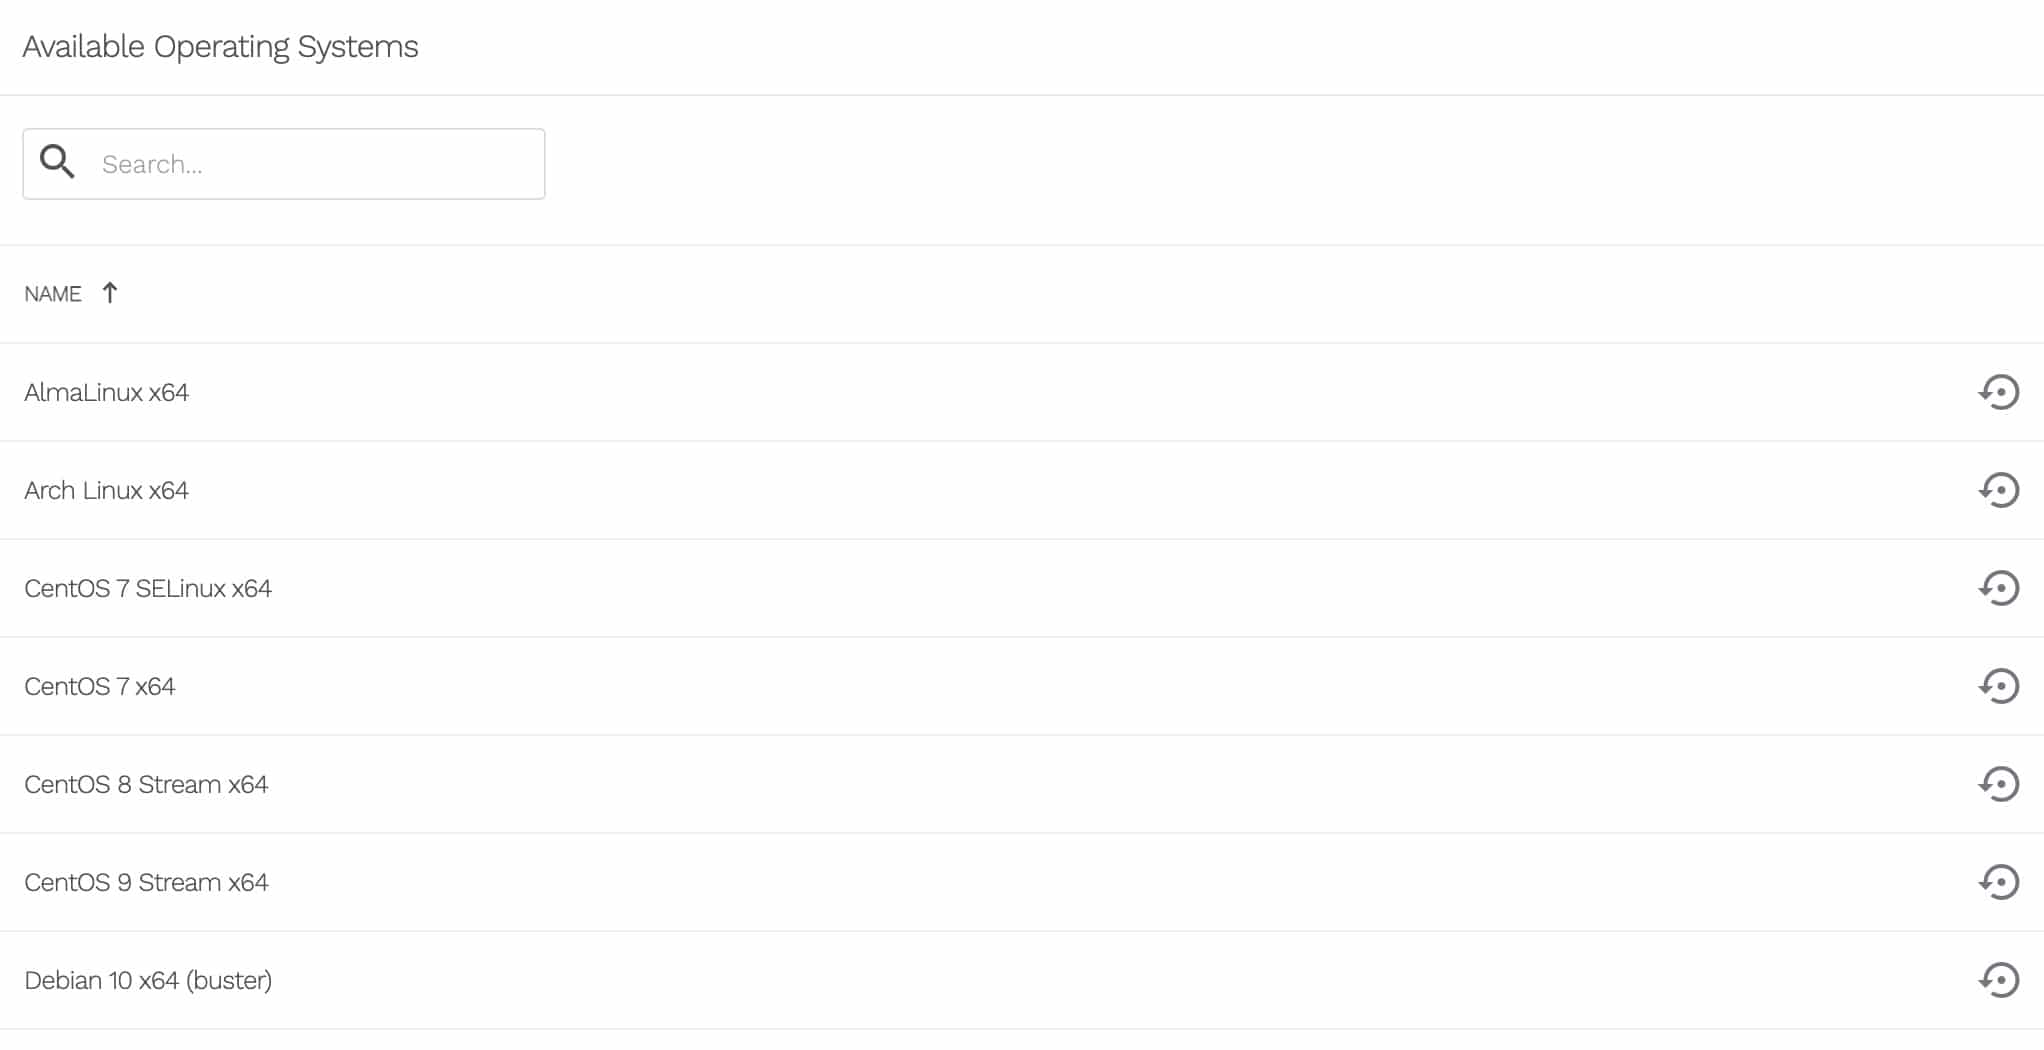
Rebuild Button
- Rebuild your server with a different operating system if needed. Choose the required OS from the list.
- Warning: This option will remove all existing data and configurations from the server.
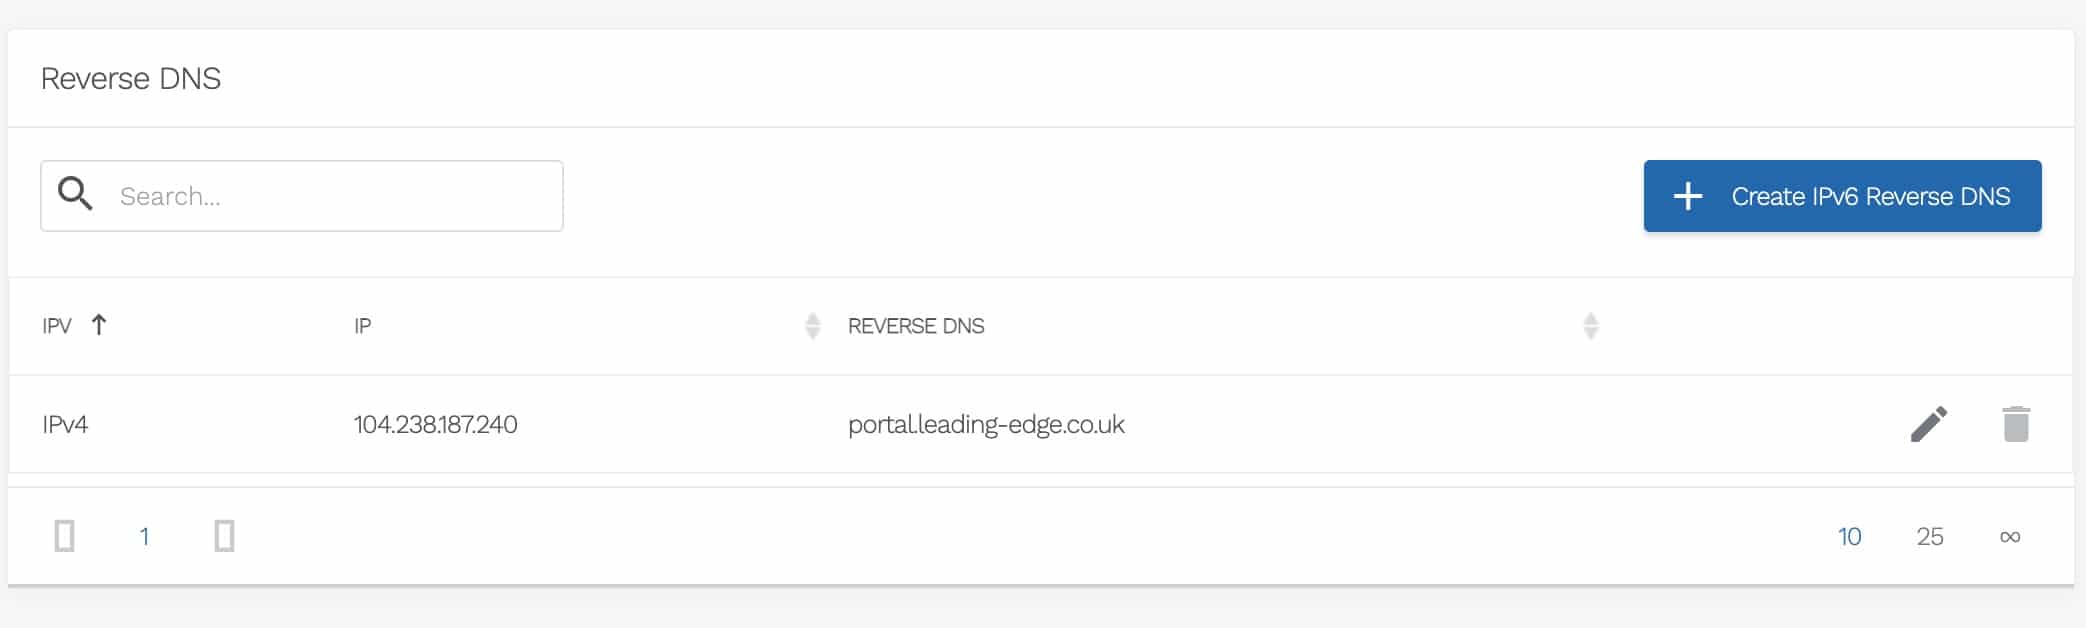
Reverse DNS Button
- Configure the reverse DNS options on the server.
- Create the necessary entries using the console below.
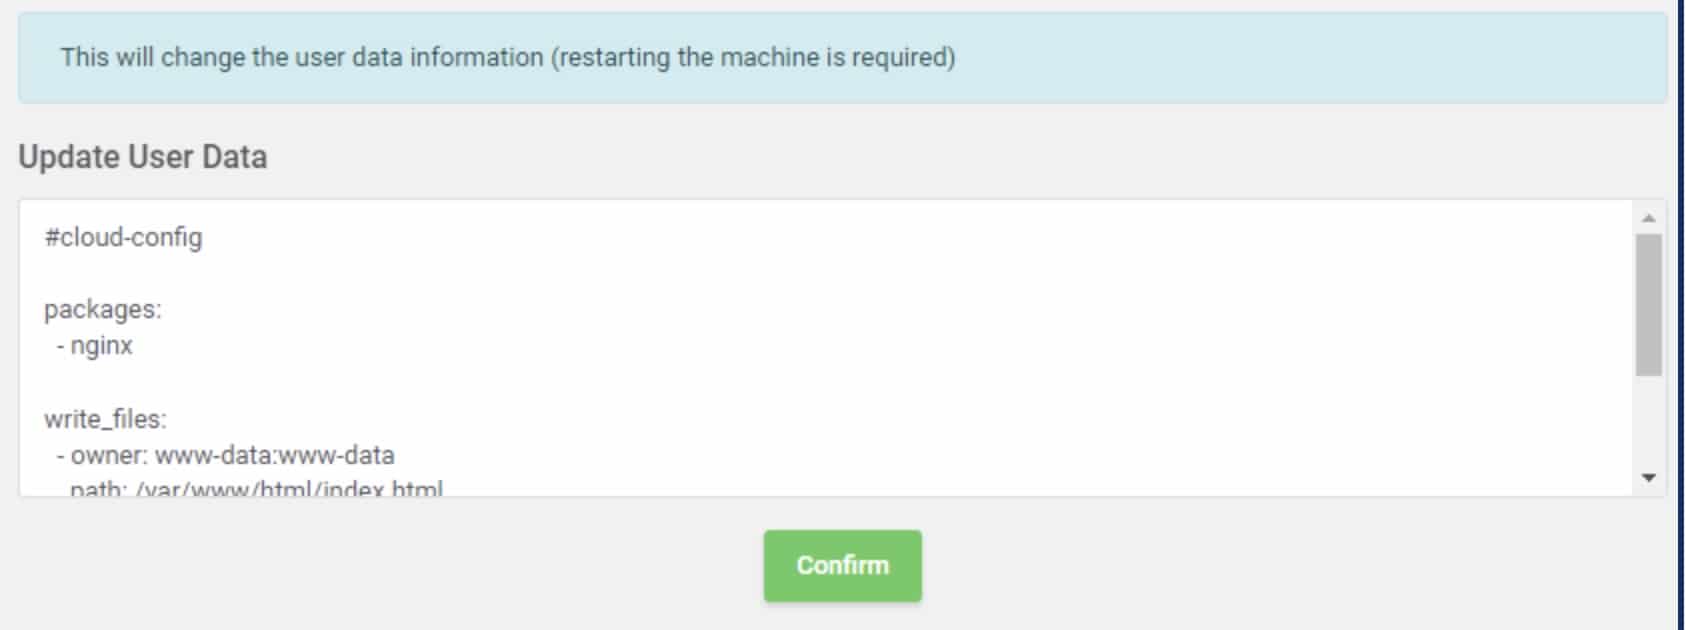
User Data Button
- Create advanced startup scripts for your server.
- Use the console below to create the required entries.