


Introduction
When you purchase a service from Hipposerve, the necessary DNS records are usually set up automatically. However, if you're using a service from another provider, you may need to add new DNS records yourself. Common services that require this include Google Search Console, Microsoft services, email providers, and CRM systems.
It's important to follow each service's instructions carefully. Incorrect DNS entry can cause the service or other services connected to your domain to stop working.
Choose the Correct DNS Zone
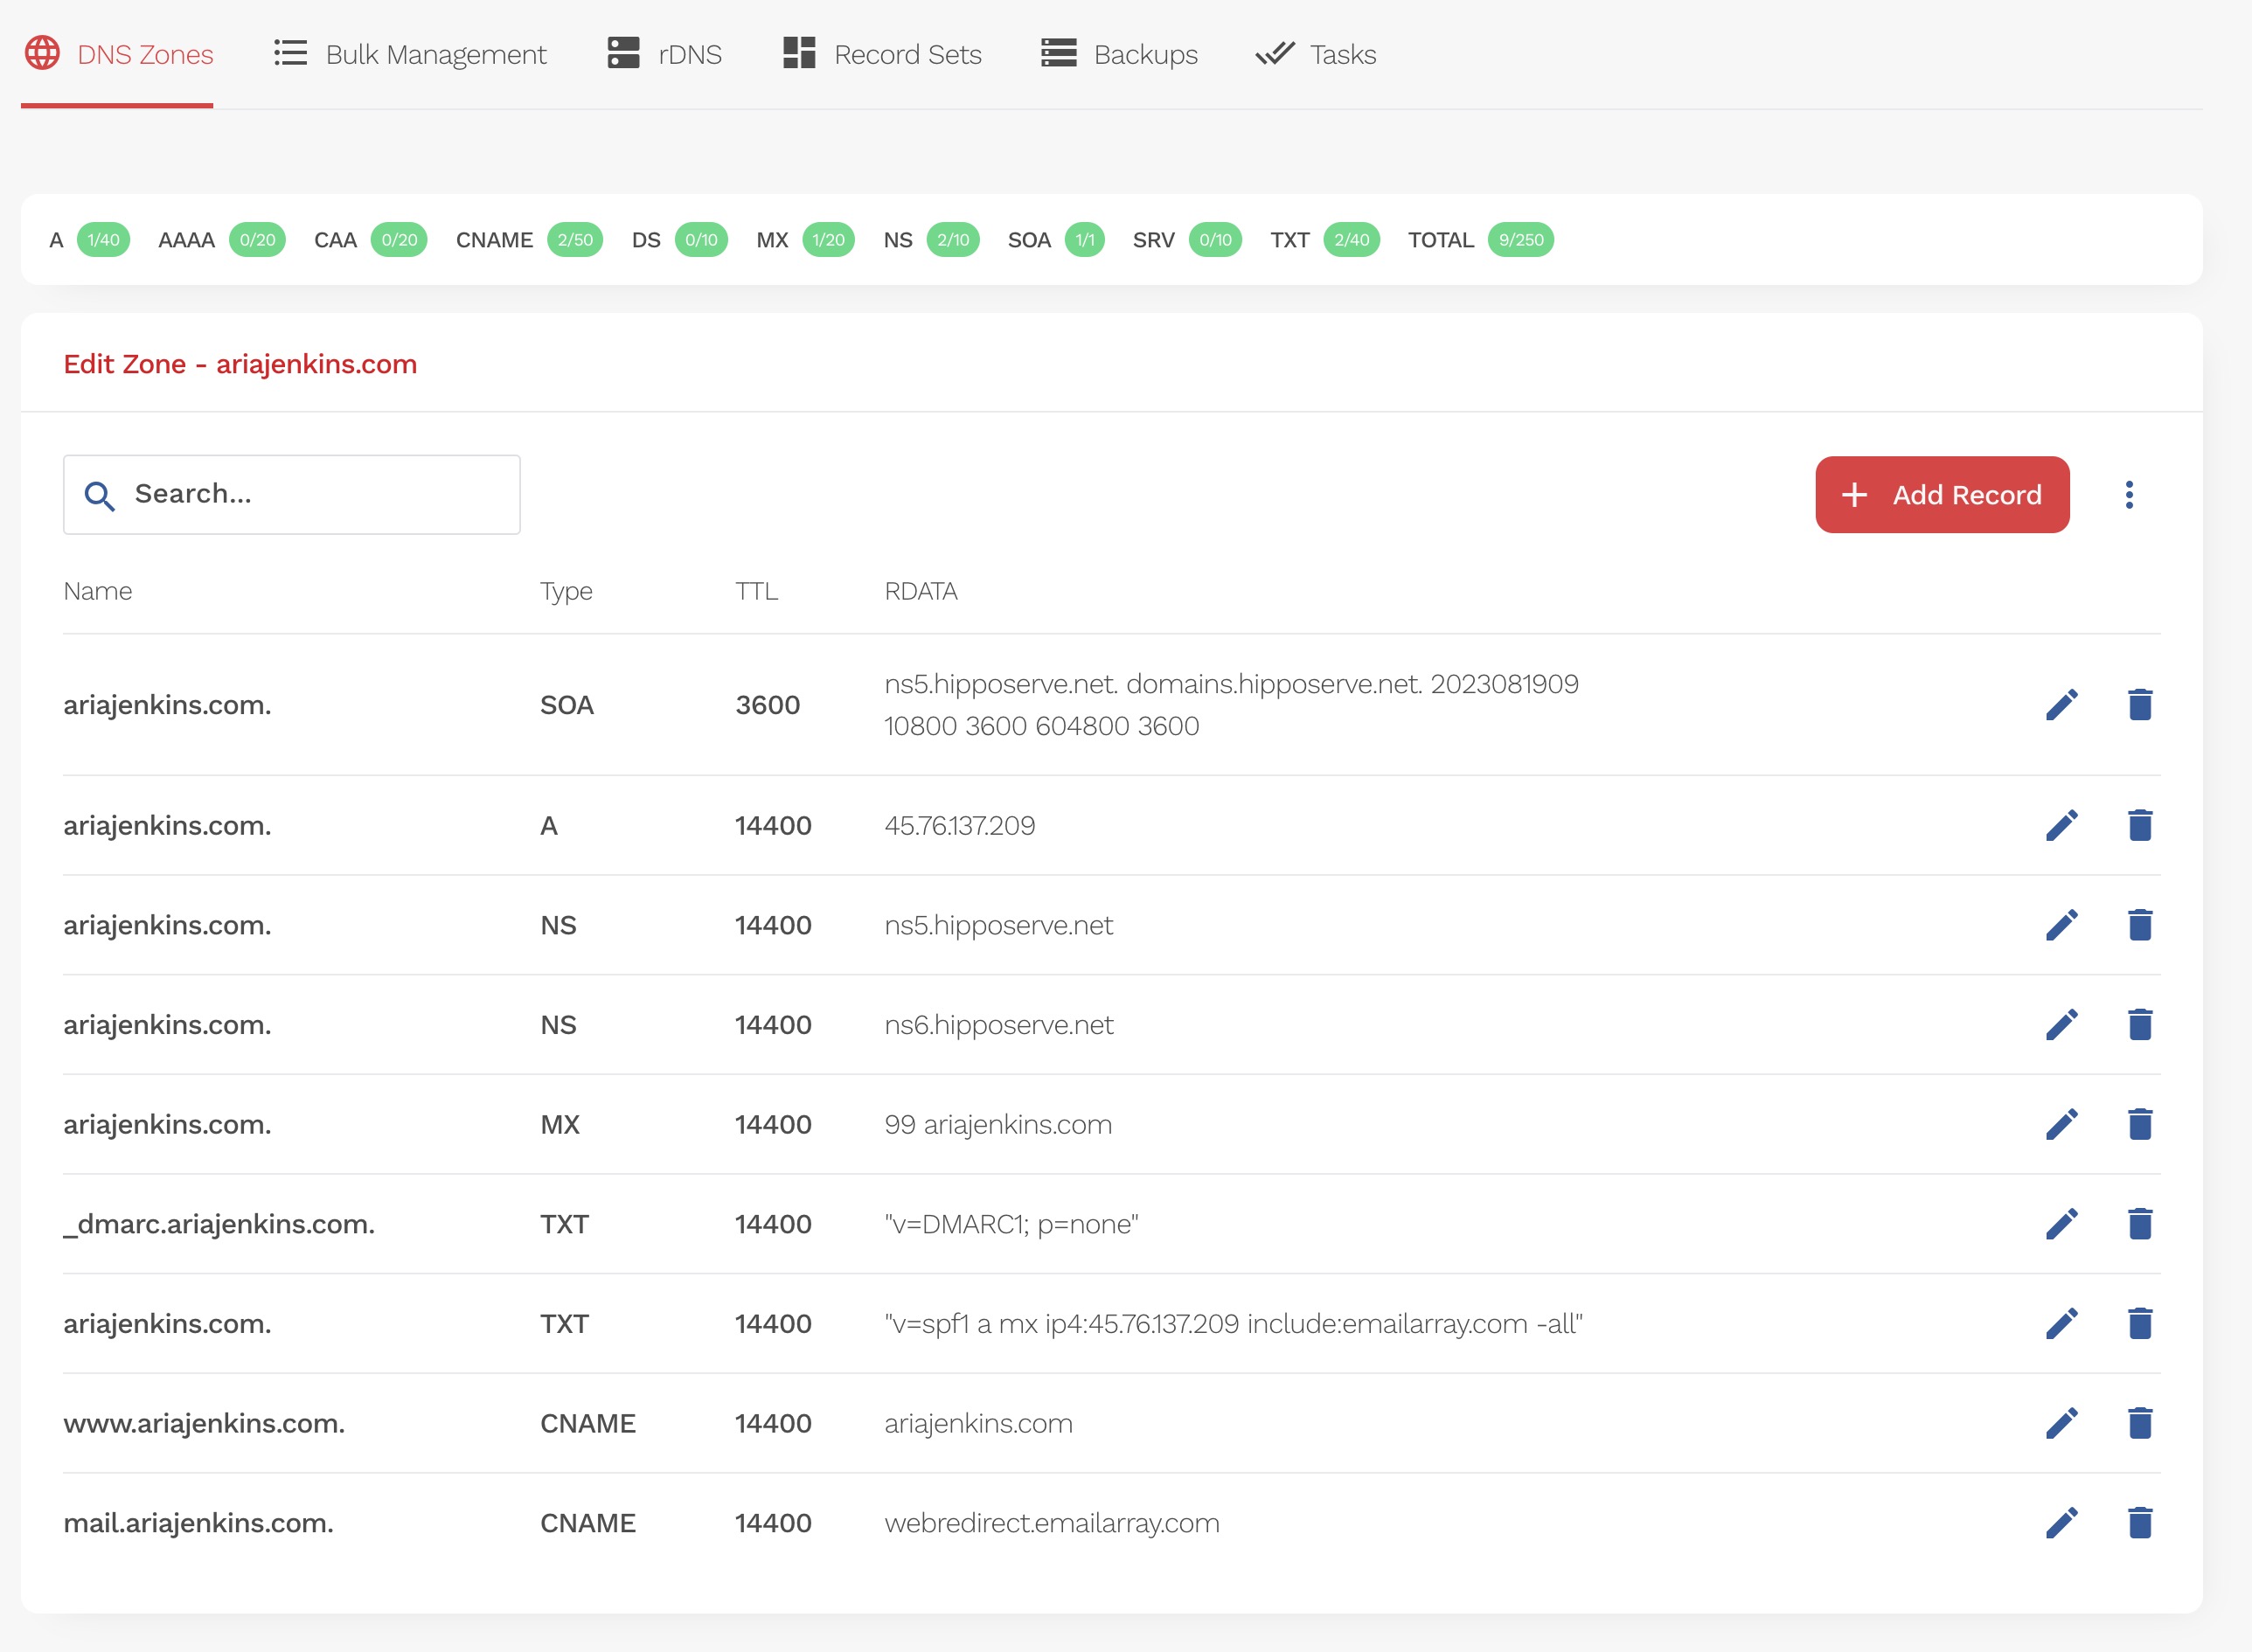
First, select the correct DNS zone where you want to add the record. This is especially important if you manage multiple similar domains (e.g., mysite.com and mysite.net).
Add a New DNS Record
Click the "Add Record" button to create a new DNS record.
Choose the Record Type
The "Add Record" box will appear.
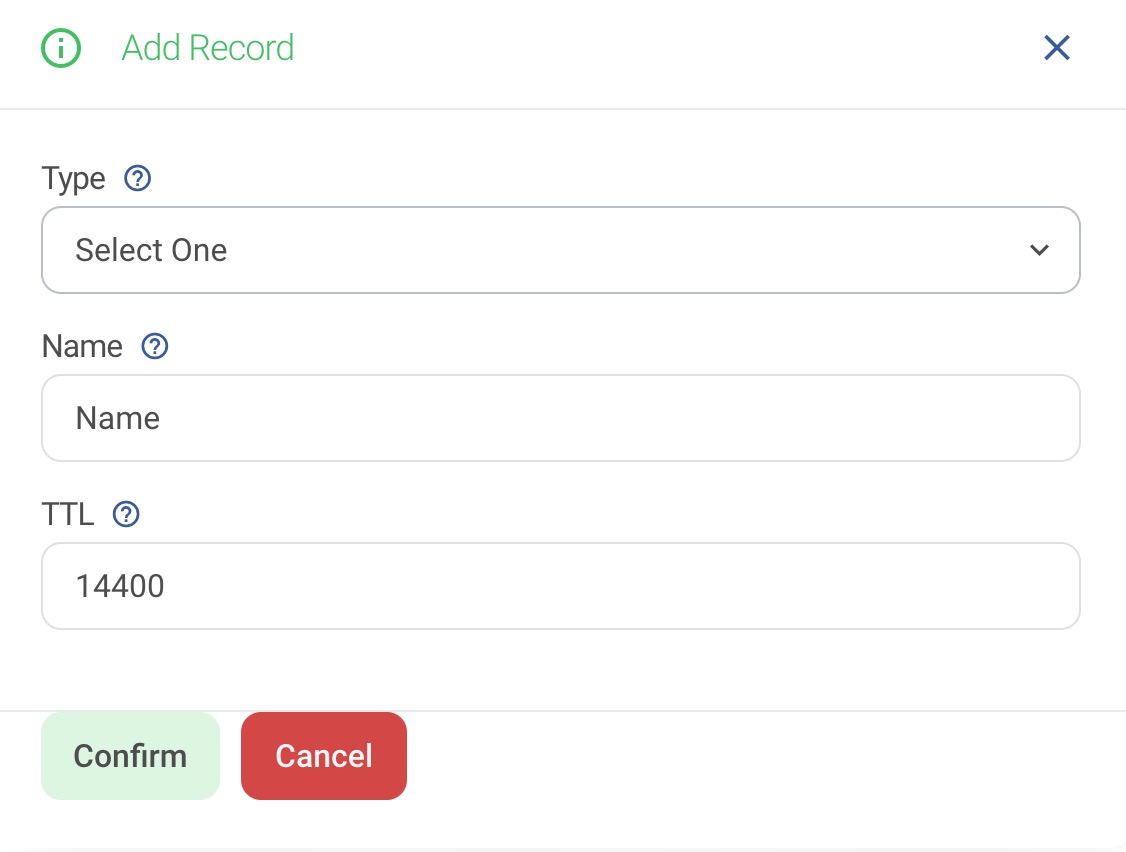
From the "Type" dropdown list, select the record type you need. The most common types are:
- A records
- CNAME records
- TXT records
- MX records
Add Your DNS Record
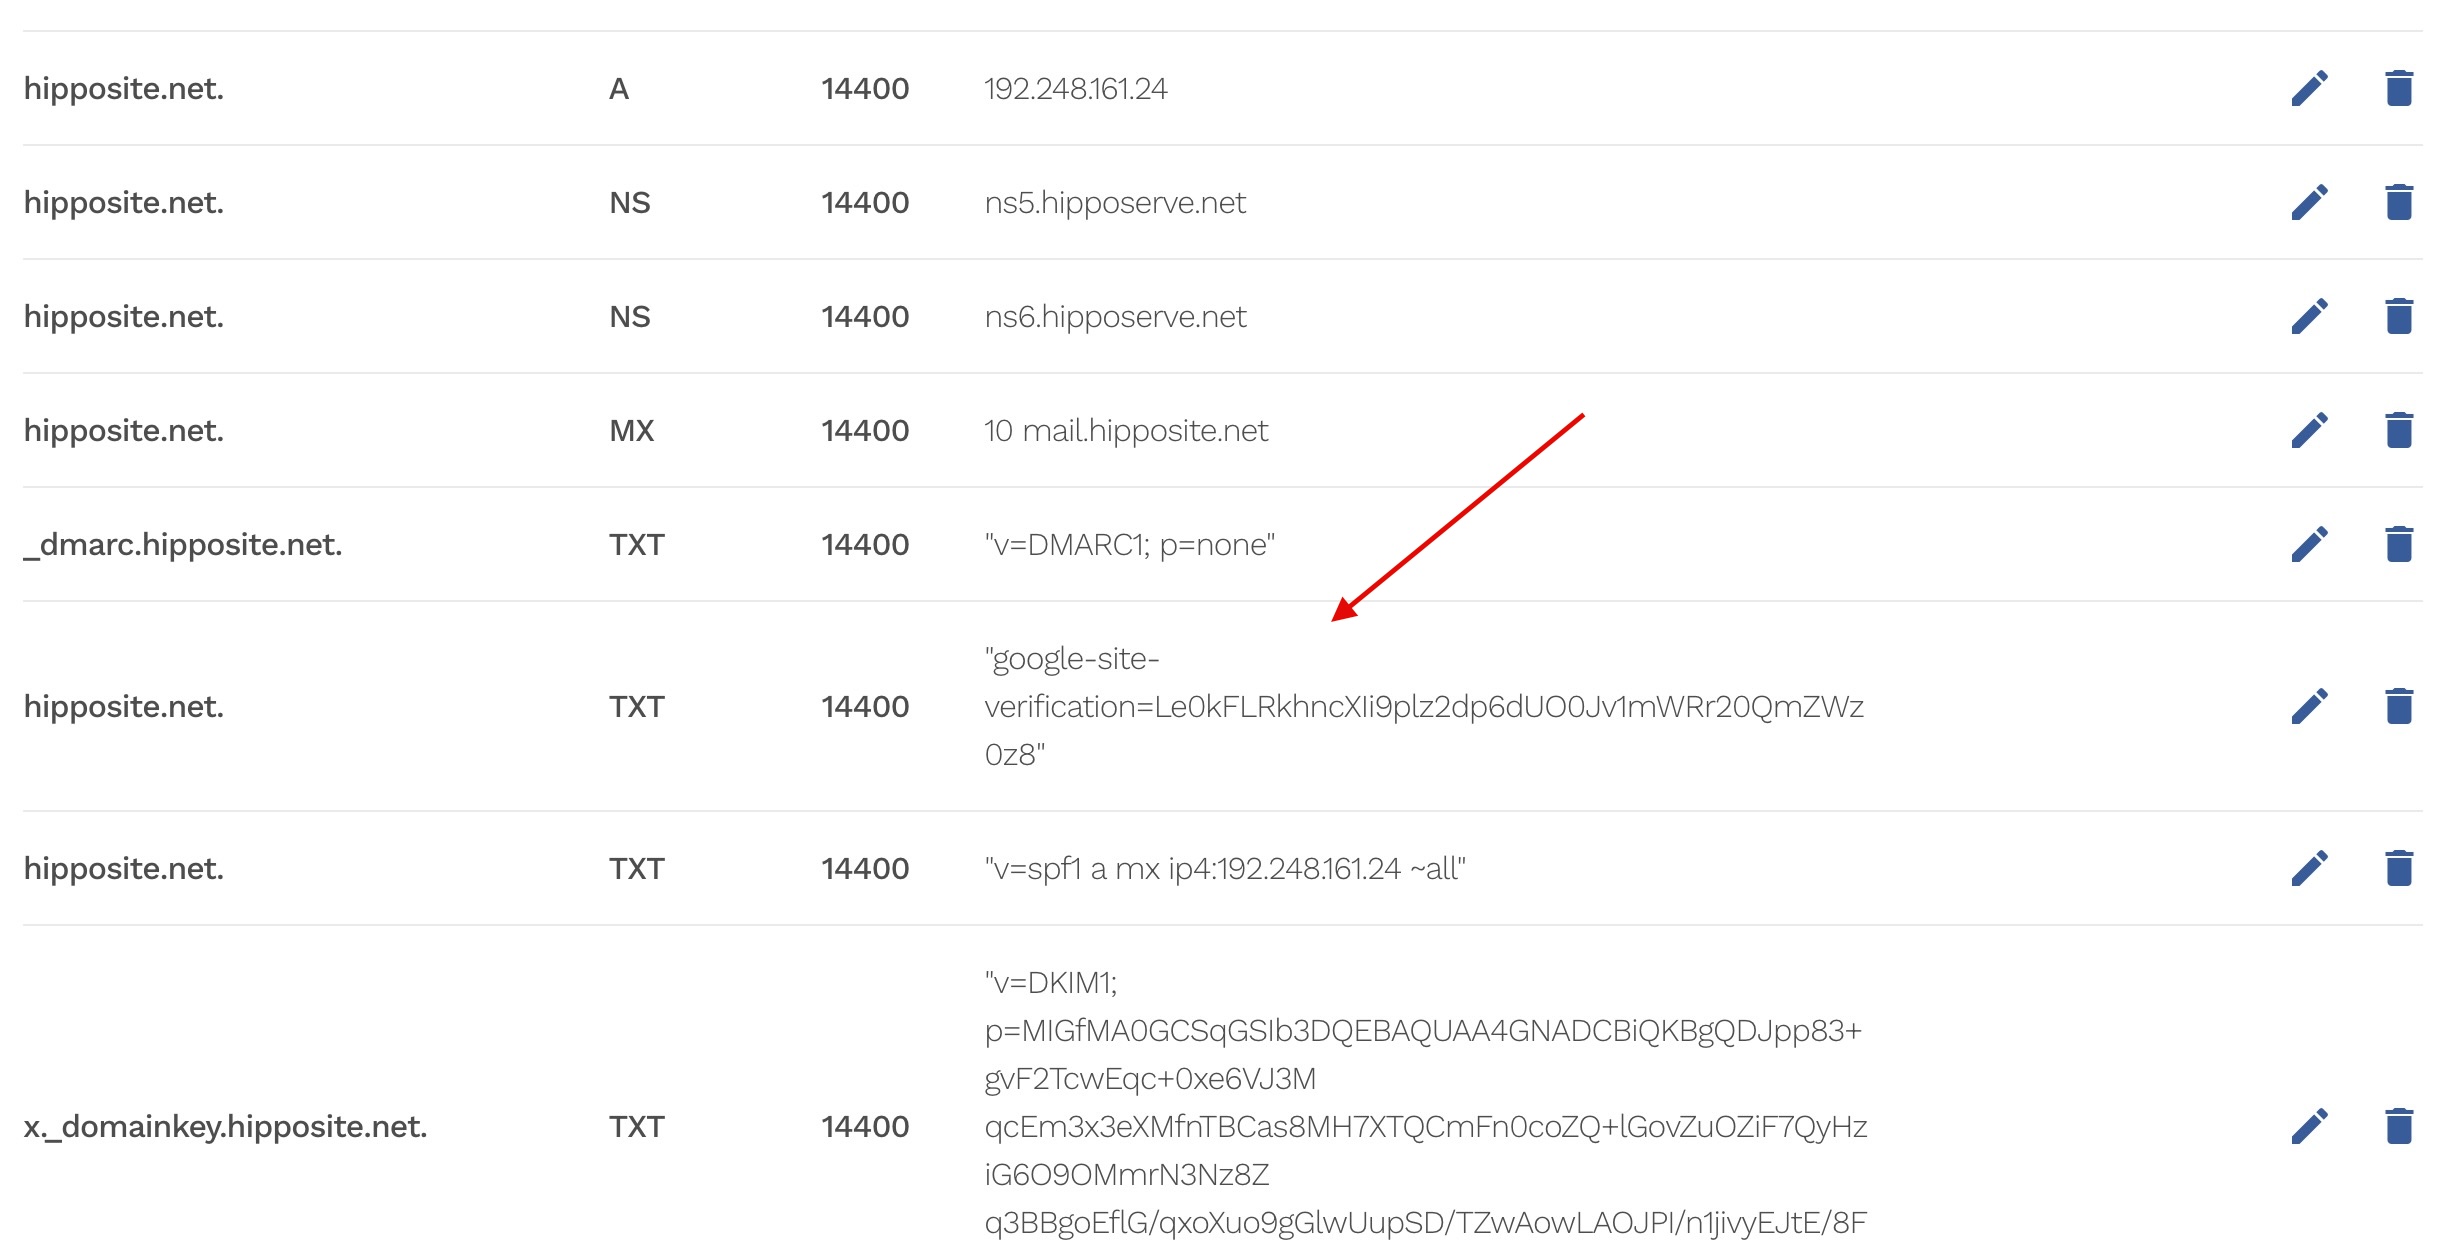
In this example, we'll add a TXT record, which is often used for domain verification (e.g., Google Search Console or Microsoft services).
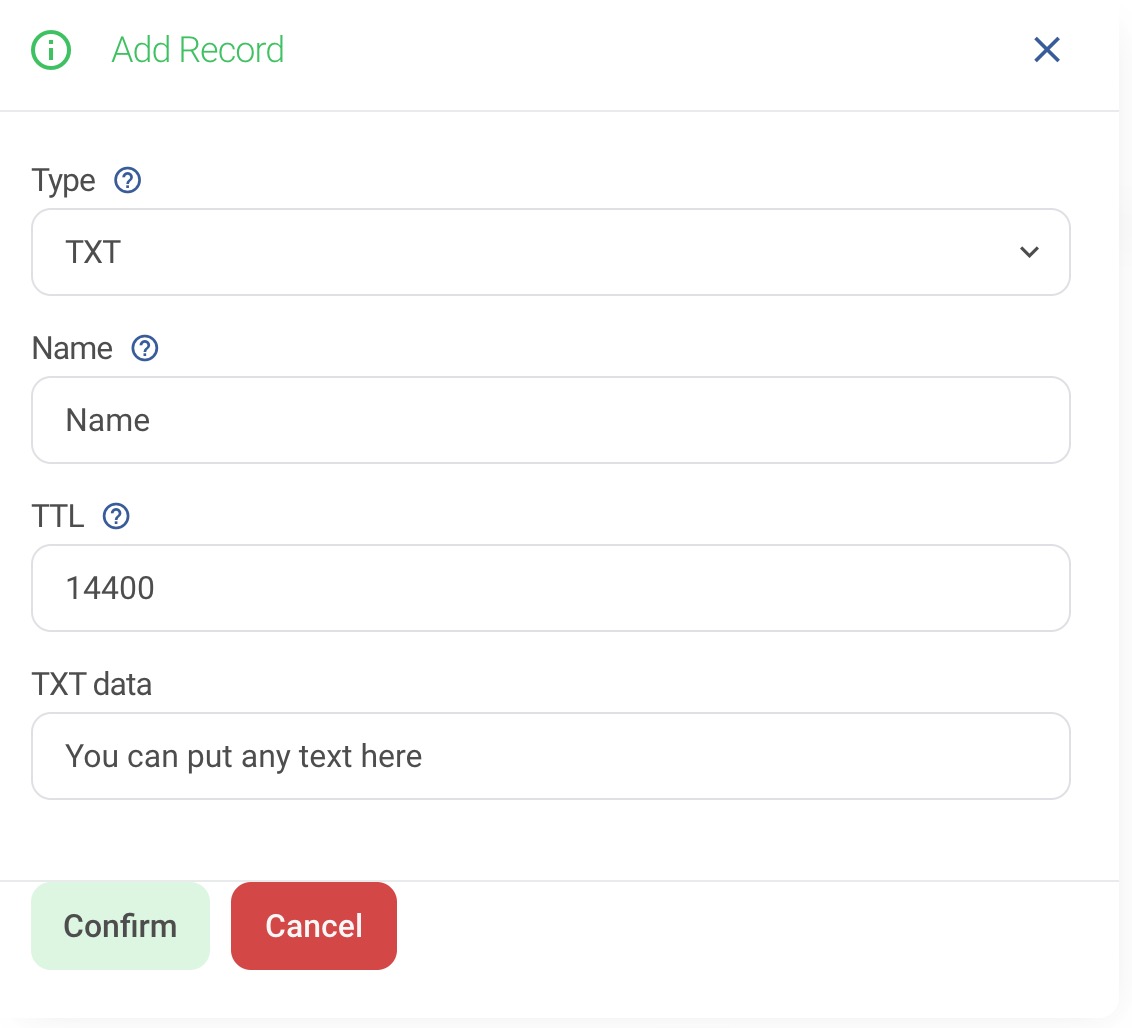
Name (Sometimes called Host Name)
If the service asks for a "host name," you can usually enter the value "@". This will automatically place the correct entry. However, if they ask for a specific identifier (e.g., _dmarc_123), enter that.
Important: If they provide an identifier like "_dmarc_123.yoursitename.com", you MUST remove ".yoursitename.com" as our system automatically adds this for you.
TTL (Time To Live)
TTL refers to how long the record is cached. If the service provides a value, use that. Otherwise, the default value of 14400 is usually fine.
TXT Data
Enter the data exactly as provided by the service. Ensure there are no spaces at the beginning or end of the data.
Completed Form Example
Here is an example of a completed DNS record form:
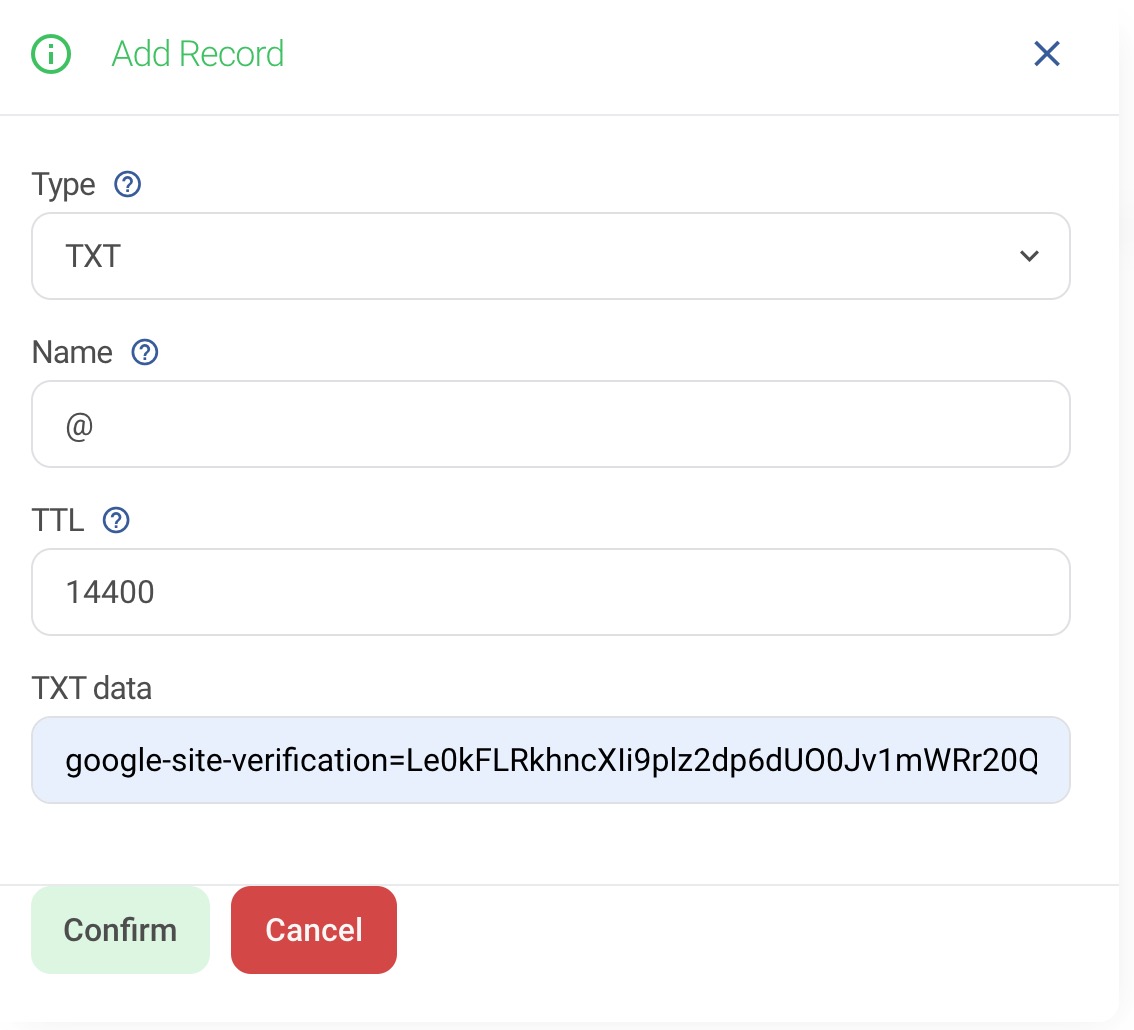
Click the "Confirm" button to save the record.
Step 5: Check the DNS Record
After entering the record, double-check the DNS entry to ensure that the Name, Type, TTL, and RDATA match the information you received from the service provider.
Important Note: DNS Propagation
When you update DNS records, it's important to understand the concept of DNS propagation. This is the process by which the updated information is spread across the internet. It can take anywhere from a few minutes to up to 48 hours for DNS changes to be fully effective worldwide. During this time, internet traffic may still be directed according to your old DNS settings until the update is fully propagated.


