


Introduction
In today’s digital world, passwords alone are no longer enough to keep your accounts secure. Over 80% of hacking-related breaches occur due to stolen or weak passwords (Verizon Data Breach Report), making it crucial to add an extra layer of protection.
Two-Factor Authentication (2FA) helps safeguard your account by requiring not just a password, but also a second verification step—such as a code sent to your phone or generated by an authentication app. This simple step can make a huge difference:
- 99.9% of automated hacking attempts are blocked with 2FA (Microsoft Security Report).
- Up to 75% reduction in account takeovers (Google Security Study).
- Yet, only 10% of users enable 2FA, despite its effectiveness (Verizon Data Breach Report).
By enabling 2FA, you add a critical layer of security that drastically reduces the risk of unauthorized access. This guide will walk you through how to set up 2FA and ensure your accounts remain protected.
Accessing Security Settings
To manage your security settings, follow these steps:
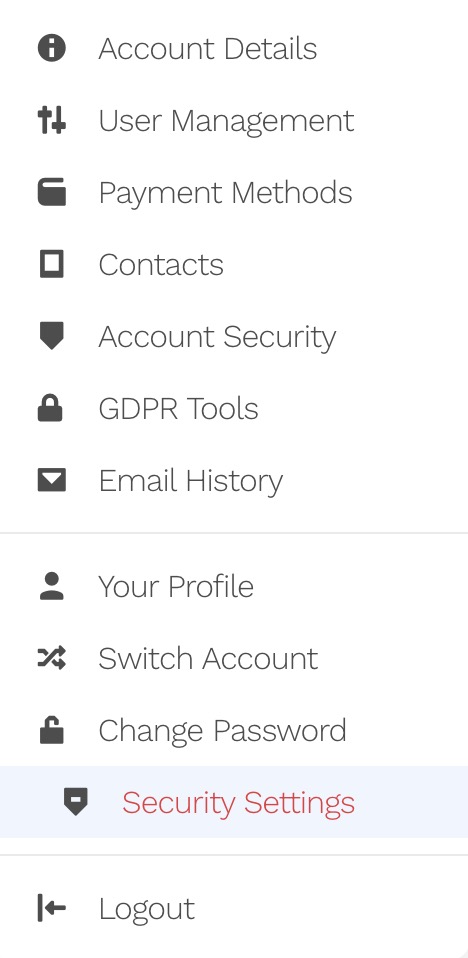
- Open Your Account Menu – Click on your name in the Top Bar to access your account options.
- Select “Security Settings” – From the dropdown menu, choose Security Settings to manage your authentication and protection options.
Access the 2FA Area
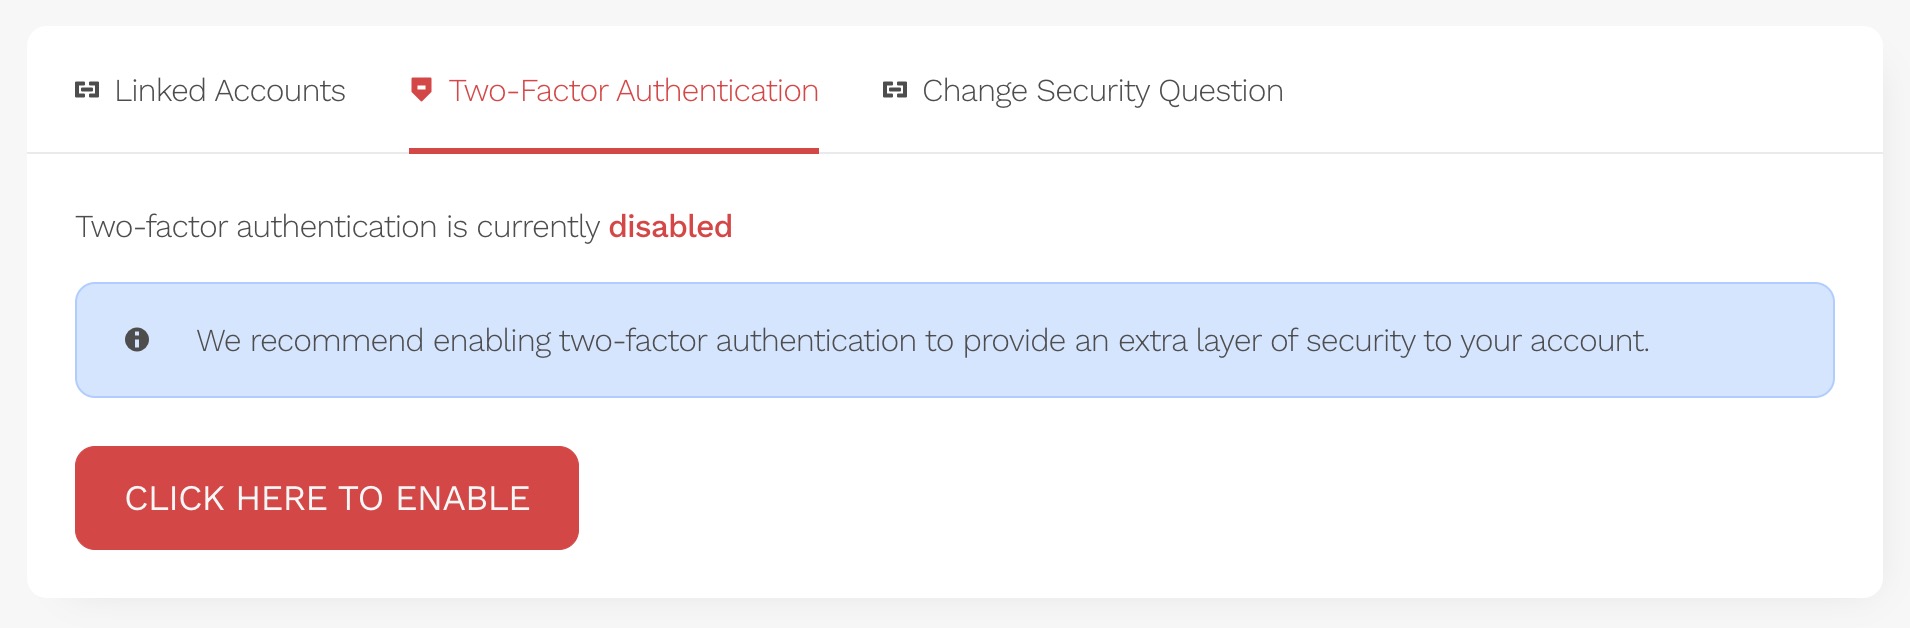
- Access the 2FA Settings – Navigate to the Two-Factor Authentication tab.
- Enable 2FA – Click on “Click Here to Enable” to begin the setup process.
Choose Your 2FA Authentication Method
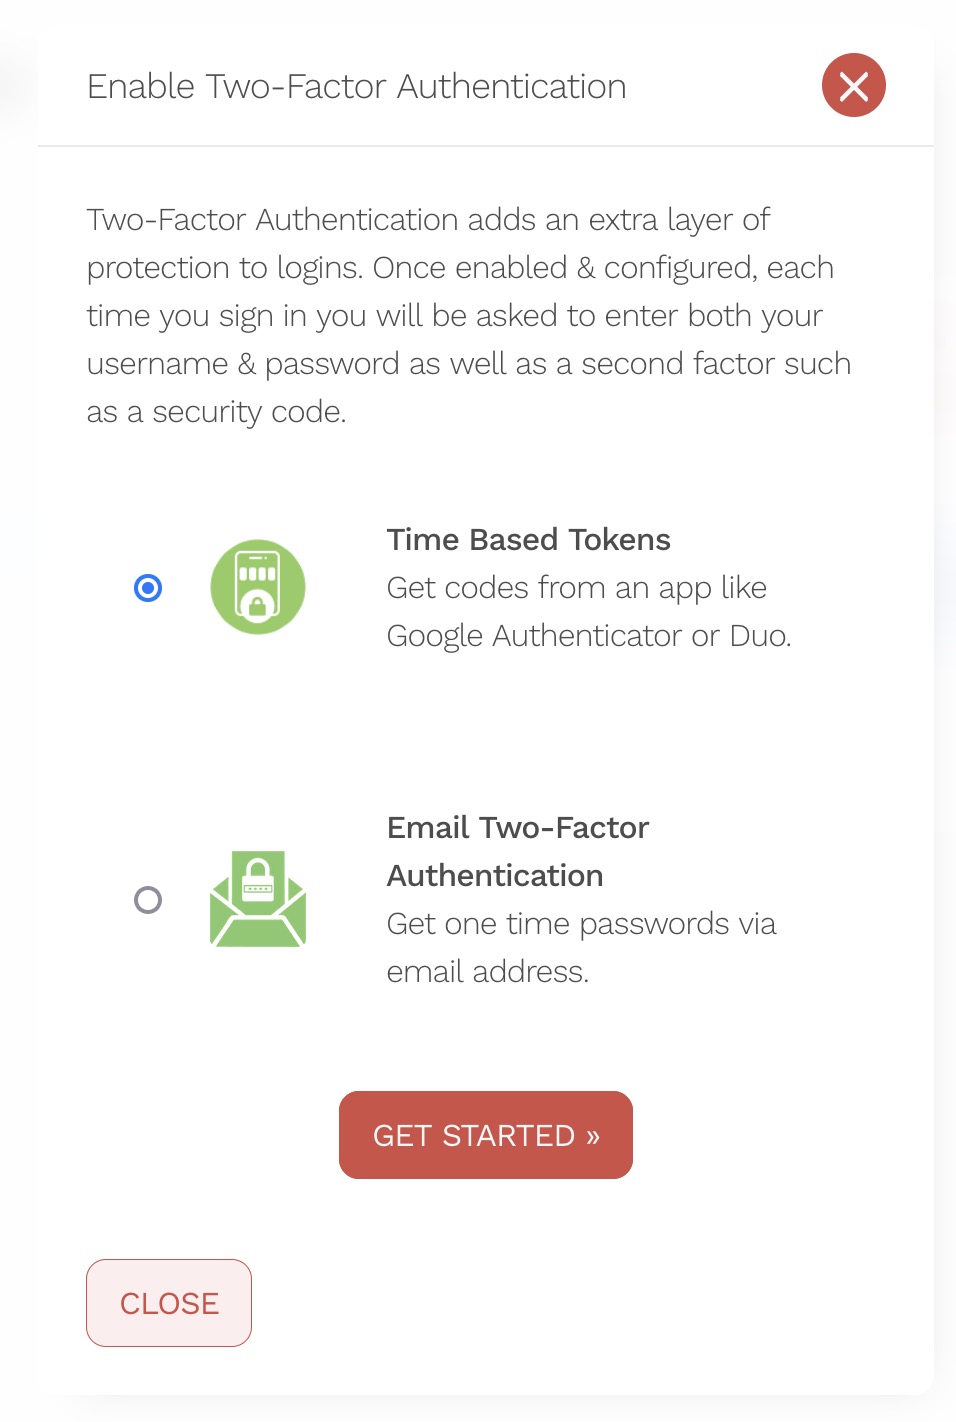
- You can choose between an Authentication App (such as Google Authenticator) or email 2FA
- Note some accounts may not have all methods available.
Follow the On-Screen Instructions
- For The Email will be sent to your registered account and you will need to enter the One-Time Passcode.
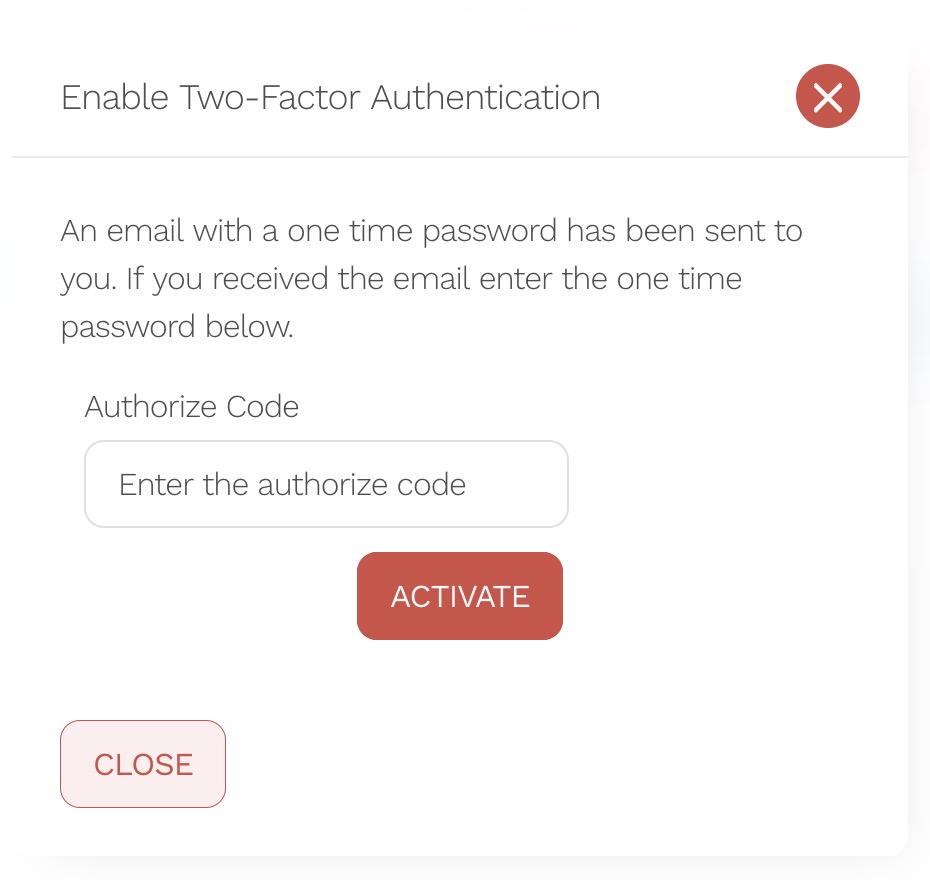
Your 2FA Will now be set up.


