


How to Add a Web Redirect in Hipposerve® ezForward
A web redirect automatically sends visitors from one web address to another. This is useful when you’ve changed domain names, reorganised your website, retired old pages, or simply want visitors to end up in the right place without seeing an error.
With Hipposerve ezForward, web redirects are easy to create and are managed directly from the ezForward Control Panel.
Step-by-Step: Adding a Web Redirect
1. Open the ezForward Control Panel
- Log in to your Hippo Portal.
- Navigate to the domain using ezForward.
- From the ezForward management screen, click Open ezForward Control Panel.

2. Open Redirects
- In the ezForward Control Panel, click the Redirects button.
- Click Add Redirect.
The redirect setup modal will now open.
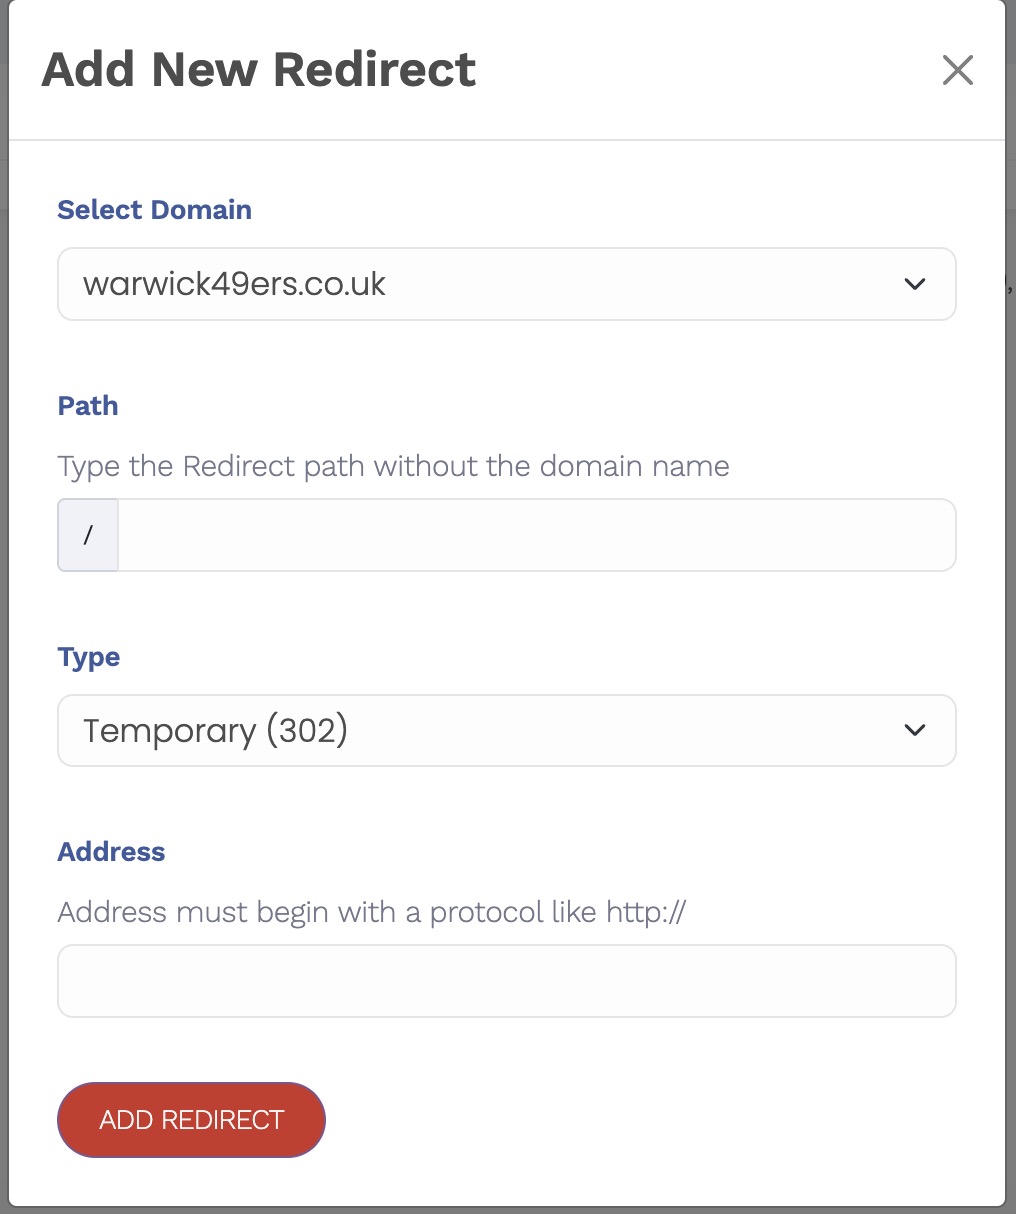
3. Select the Domain or Subdomain
Choose the domain or subdomain you want the redirect to apply to from the dropdown list.
This allows you to redirect:
- The main domain (e.g.
example.co.uk) - A specific subdomain (e.g.
blog.example.co.uk)
4. Redirect Path (Optional)
The redirect path allows you to redirect specific pages rather than the entire domain.
This is useful if you have recently changed domains and want to redirect individual old pages to their new equivalents.
Example:
/about-us→https://newsite.co.uk/about/contact→https://newsite.co.uk/contact
If you want to redirect the entire domain to another website, simply leave the redirect path fields blank.
5. Redirect Type (301 vs 302)
Choose the type of redirect:
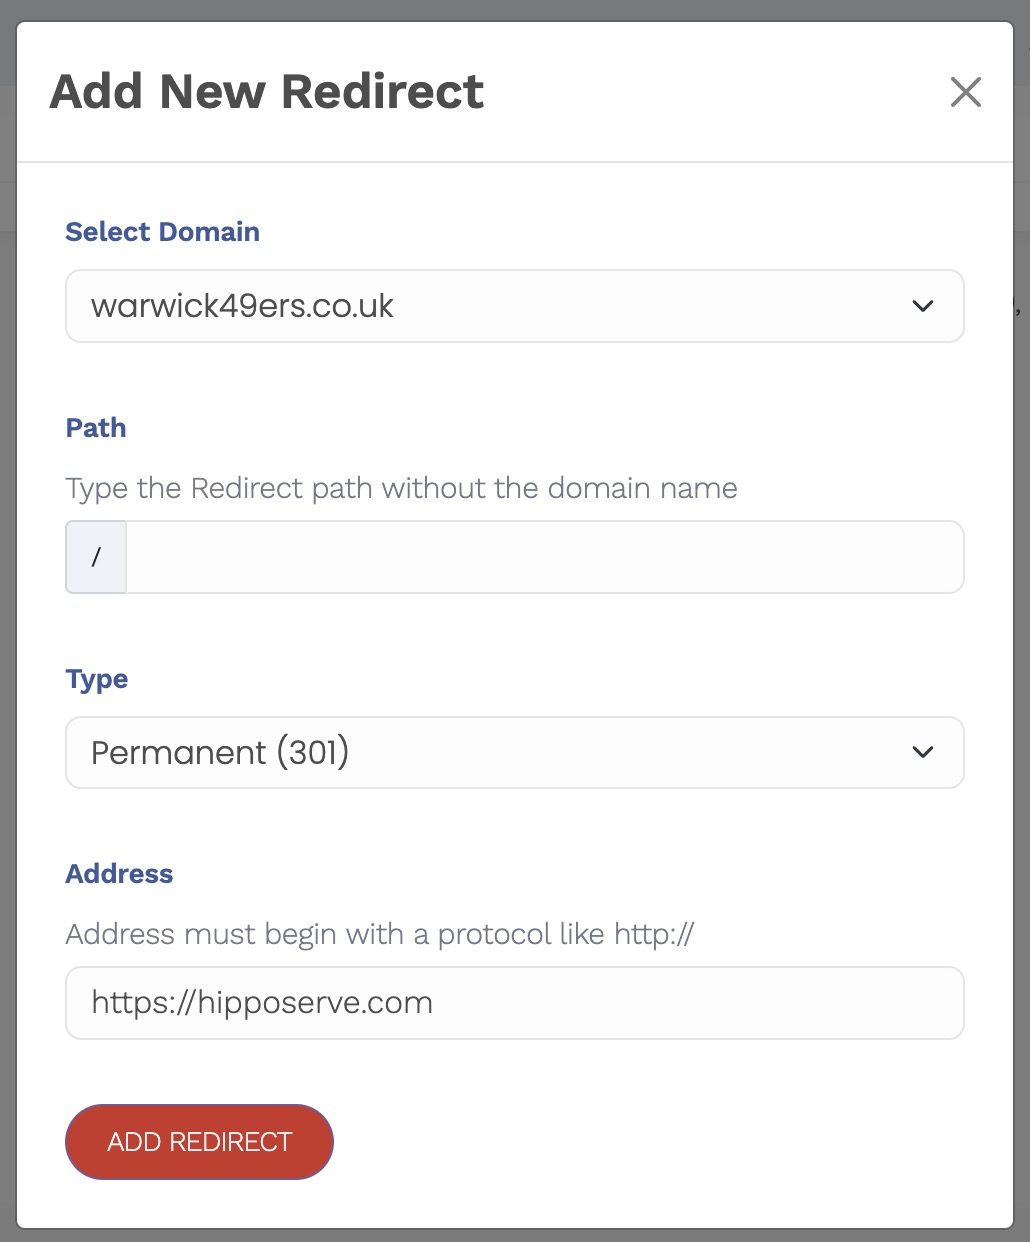
- 301 – Permanent Redirect (Recommended)
Use this when the change is permanent. Search engines update their records and transfer ranking signals to the new address. - 302 – Temporary Redirect
Use this only if the redirect is short-term and you plan to revert it later.
In most cases, especially when changing domains or restructuring a site, a 301 redirect is the correct choice.
6. Destination URL
Enter the full destination address you want visitors to be redirected to.
Make sure to include the protocol:
https://example.comhttp://example.com
7. Add the Redirect
Once all details are correct, click Add Redirect.
Important Notes
- Redirects cannot be edited once created.
If you make a mistake or need to change a redirect, you must delete it using the trash icon and create a new one.

- Changes usually take effect quickly, but may take some time to propagate depending on browser caching and DNS.
Your redirect is now active and visitors will be sent to the correct destination automatically.


