


Adding Subdomains for Web Forwarding in ezForward™
In some situations, you may want to redirect a subdomain rather than the main domain itself. This allows you to send visitors to different destinations depending on how they access your domain.
Common use cases include:
- Redirecting
blog.yourdomain.co.ukto a blogging platform - Sending
shop.yourdomain.co.ukto an online store - Pointing
support.yourdomain.co.ukto a helpdesk or ticketing system
Before a subdomain can be used with ezForward™, a small DNS change is required so the subdomain is recognised correctly.
Step-by-Step: Preparing the DNS
1. Open DNS Management
- Log in to your Hippo Portal.
- Click the My DNS button.

- Locate the domain you want to add the subdomain to and click the pencil (Edit) icon.
![]()
2. Add A and AAAA Records for the Subdomain
To allow ezForward™ to use a subdomain, you must add:
- An A record
- An AAAA record
These records must match the IP addresses used by the existing A and AAAA records for the root domain. This tells DNS to route the subdomain through the same infrastructure.
Click Add Record to begin.
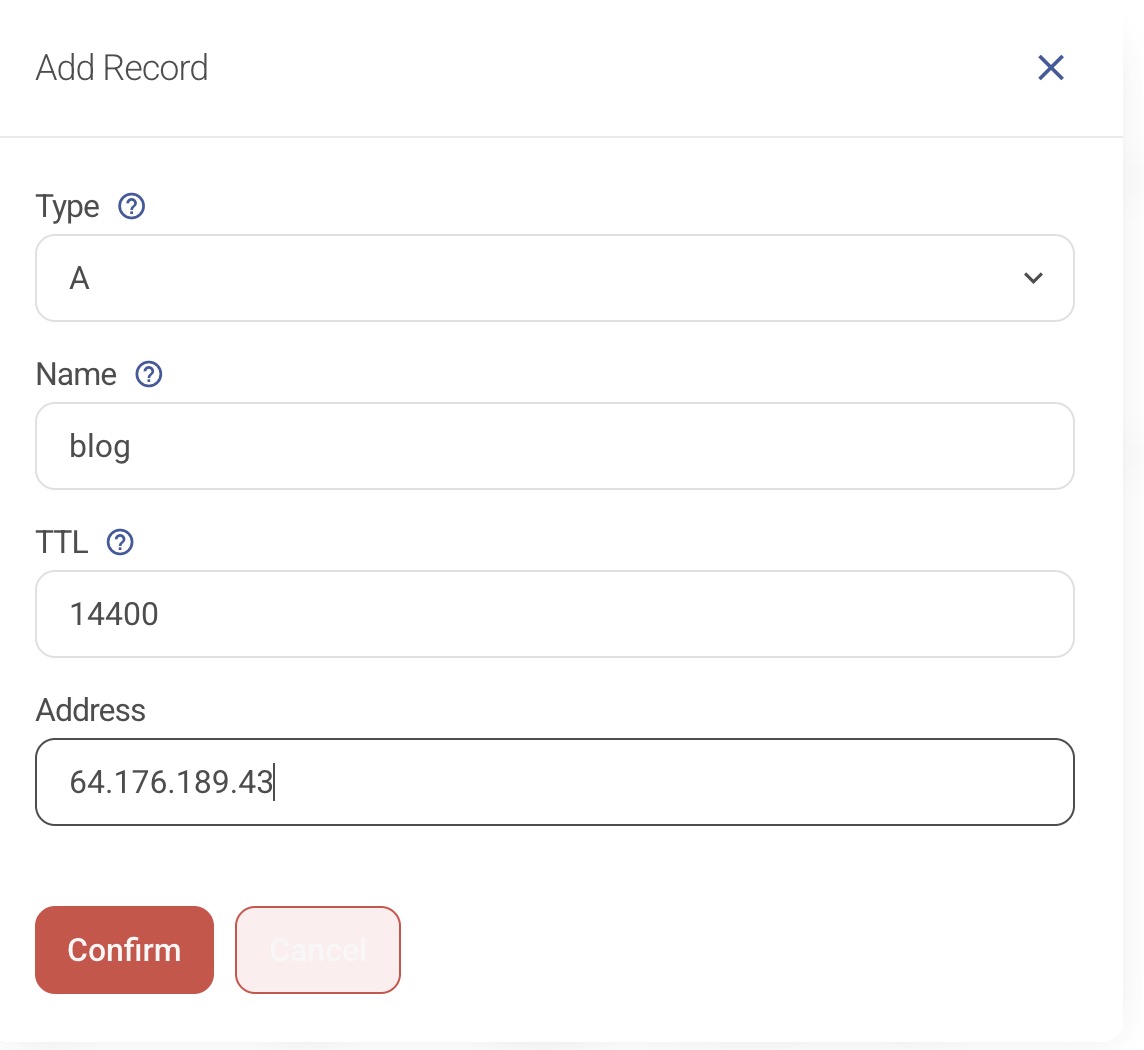
3. Create the A Record
- Select A Record.
- Enter the subdomain name (for example:
blog). - Leave the TTL set to the default value.
- Set the Address to match the main domain’s A record.
- Click Confirm.
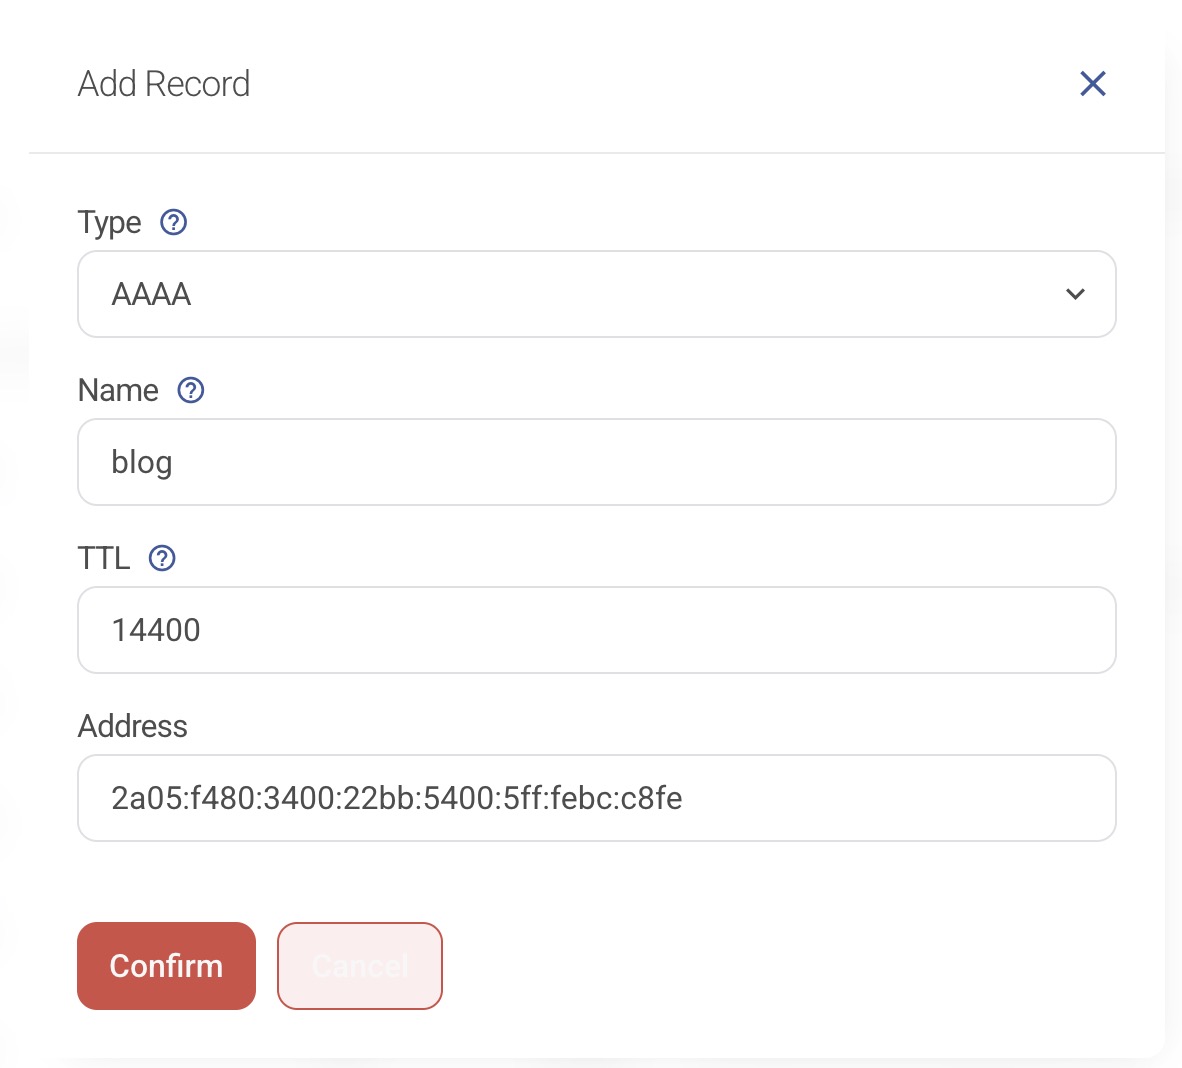
4. Create the AAAA Record
Repeat the same process for an AAAA record, using:
- The same subdomain name
- The same IPv6 address as the root AAAA record
5. Confirm the DNS Records
You should now see:
- The original A / AAAA records for the root domain
- New A / AAAA records for the subdomain

This confirms that the subdomain is now ready to be used with ezForward™.
Adding the Subdomain to ezForward™
6. Open the ezForward™ Control Panel
- Return to the ezForward™ management screen in your Hippo Portal.
- Click Open ezForward Control Panel.
7. Open Subdomains
- In the ezForward™ Control Panel, click the Subdomains button.
8. Add the Subdomain
- Enter the subdomain name you created in DNS.
- We recommend leaving Issue Let’s Encrypt Certificate enabled.
- The Domain Path field is not required for subdomains and can be left at its default value.
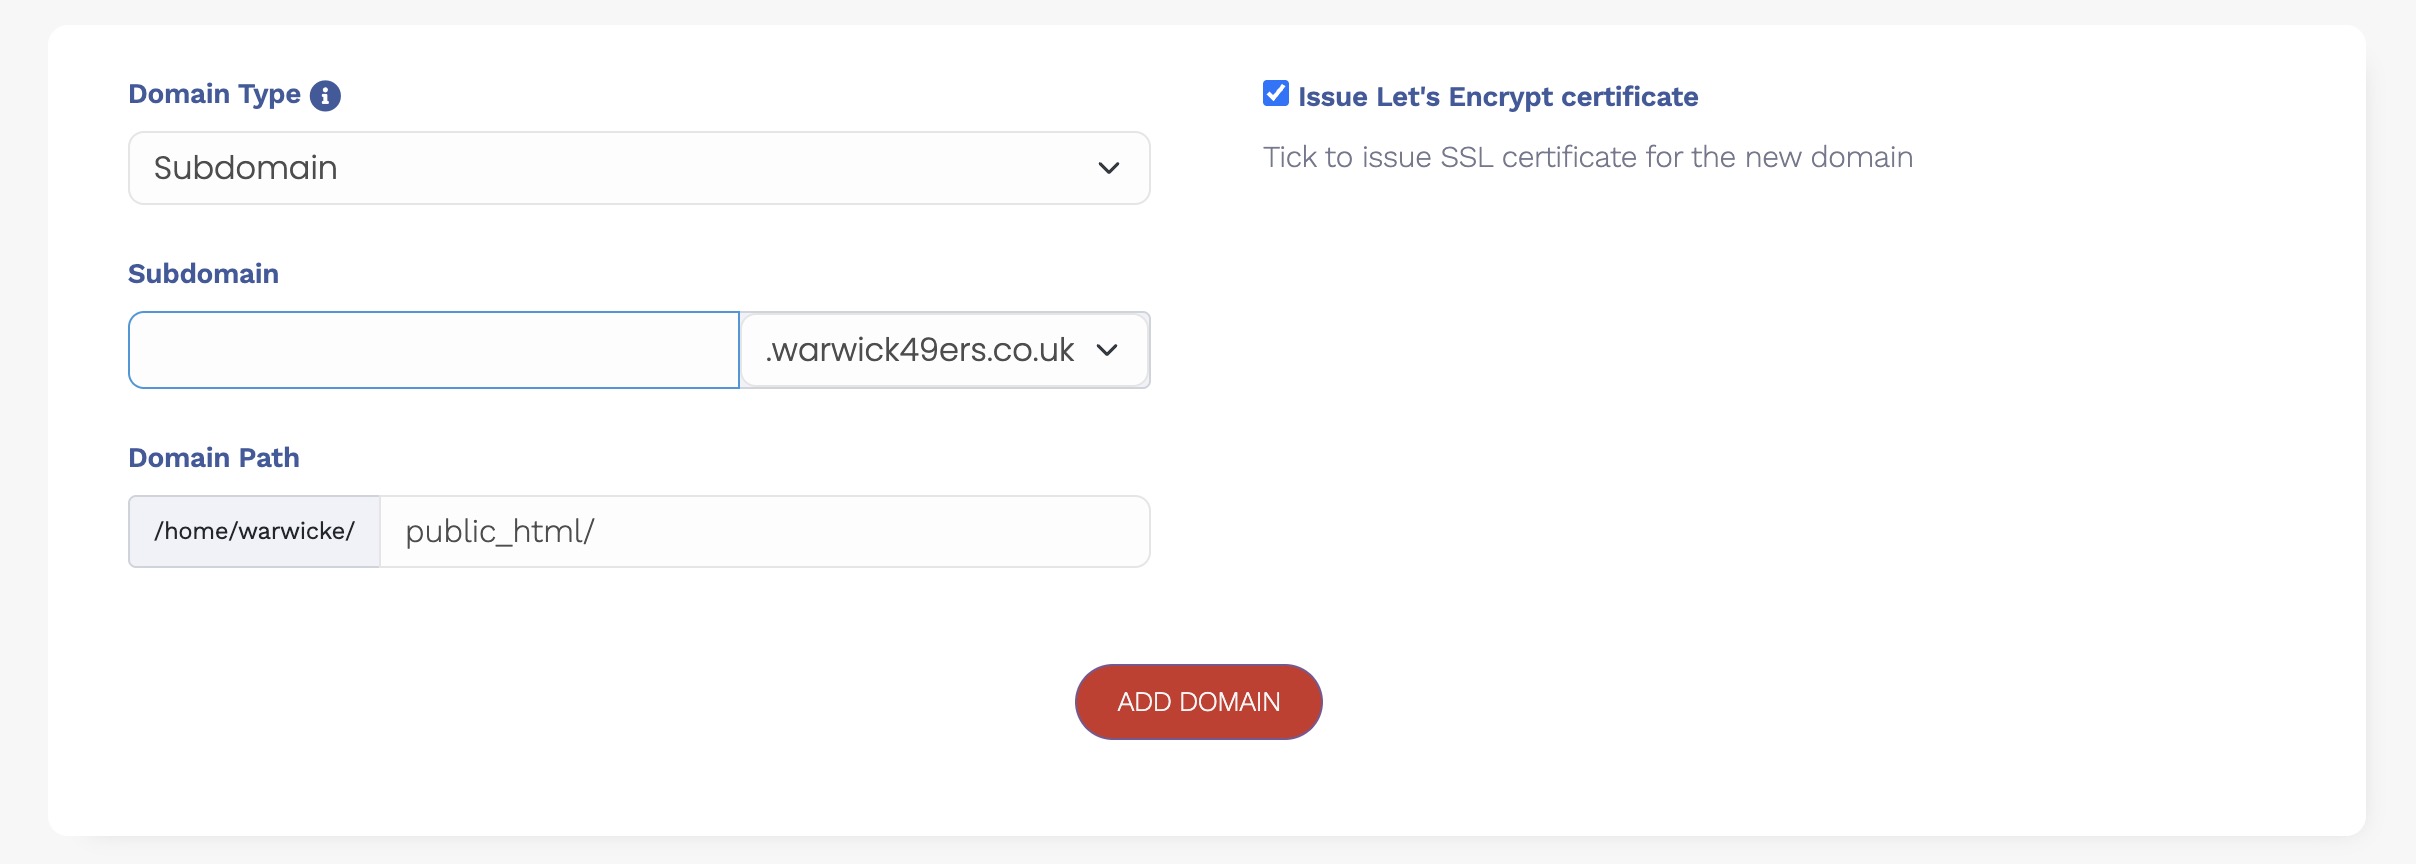
9. Confirm
- Click Add Domain.
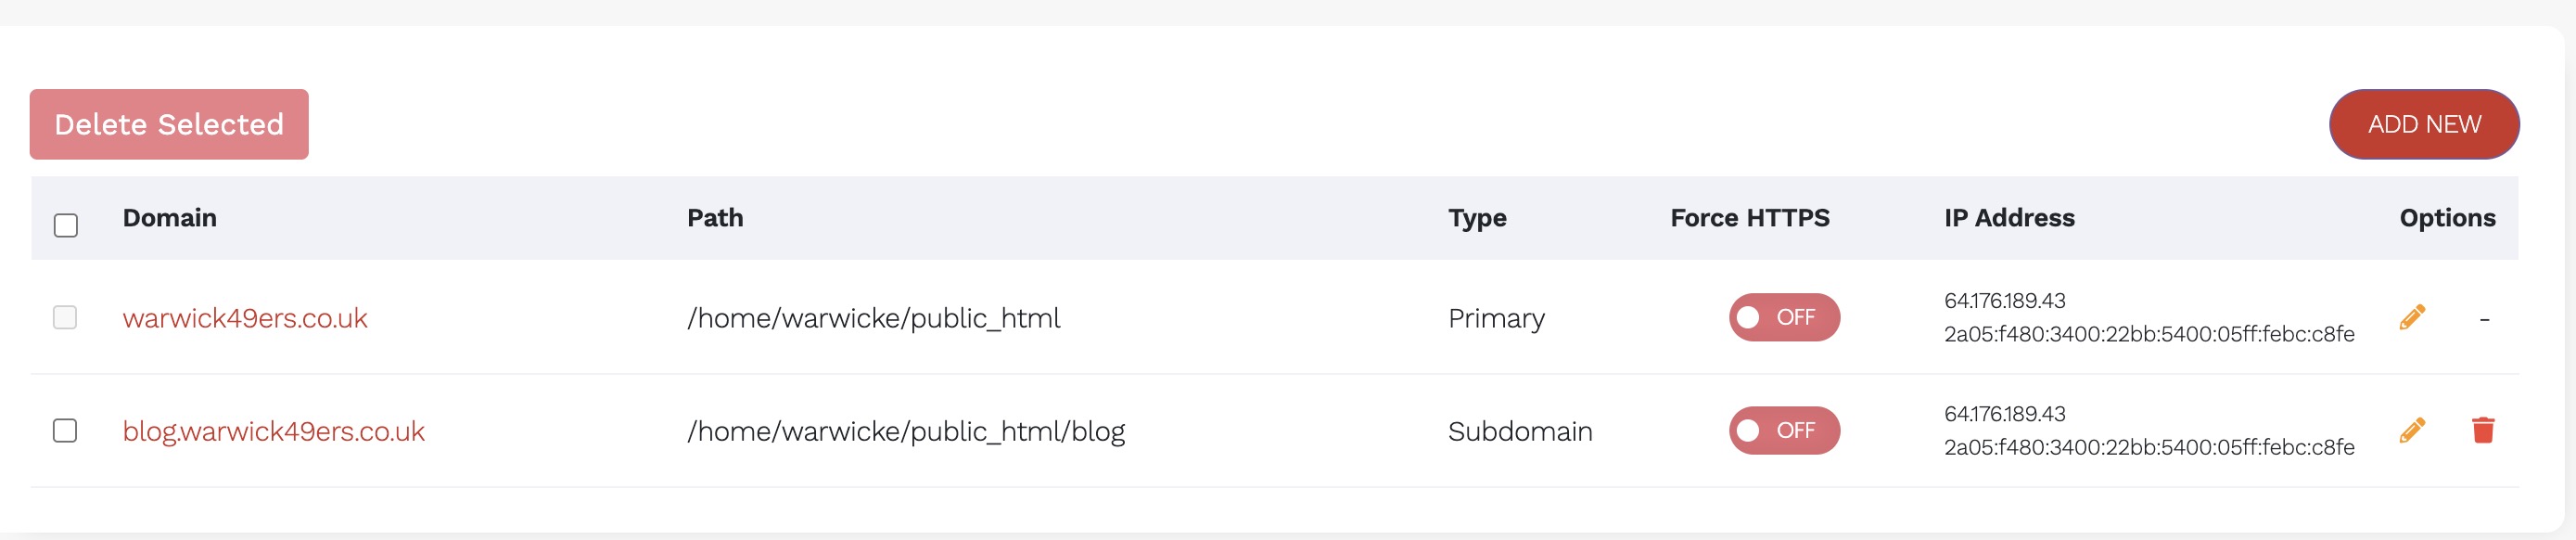
- The subdomain will now appear in the domain list.
You can now assign a web redirect to this subdomain by following this guide:


